So you've finally got that dream renovation done, but now you're left with a less-than-dreamy problem: builders dust. It's everywhere, isn't it? That fine, powdery stuff seems to sneak into every nook and cranny, making your shiny new space look like it’s been frozen in time. Well, don’t stress. We've got some practical tips to help you handle it and get back to enjoying your revamped digs.
First things first, let's talk tools of the trade. A quality vacuum with a HEPA filter is your best friend here. Why? Because it catches even the tiniest dust particles without blowing them back into your airspace. Pair that with microfiber cloths—leave those old rags for a rainy day—and you're already ahead of the game. Microfiber is fantastic at trapping dust rather than just moving it around.
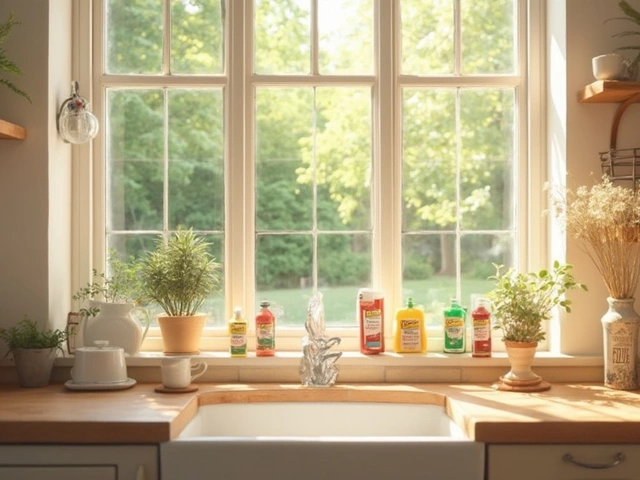
Don’t forget about your health while you're battling the dust demons. A good mask and some ventilation will go a long way. The last thing you need is to breathe in any nasty stuff lurking in the air. Plus, open windows can help move some of the dust outside, so you’re not dealing with it indoors.
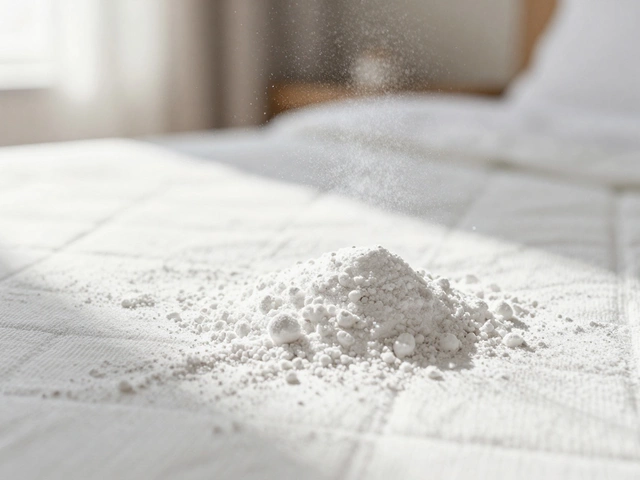
So, what exactly is this pesky builders dust we're trying to tackle? It's not just random dirt; it's a mix of fine particles produced during construction or renovation. Think of materials like plaster, drywall, wood, and concrete—they break down into this super fine dust that's tricky to eliminate.
Why is it such a pain? Well, builders dust is light and can travel through the air easily, settling on surfaces you wouldn't think of checking. It doesn't just stick around floors; you'll find it on windowsills, walls, and even inside your vents. It clings to the environment like glitter at a kid's birthday party, and it's just as hard to get rid of.
Not only is it annoying, but post-construction cleaning is essential because this dust can affect air quality. If left unchecked, it can trigger allergies or respiratory issues. Plus, it can scratch surfaces if you try to wipe it away wrong. Doesn’t sound fun, does it?
Understanding the problem is half the battle, right? Knowing what you're dealing with helps you choose the right tools and techniques to tackle it efficiently. Armed with this knowledge, you're ready for the next step: gathering the right equipment. Stay tuned, and we'll dive into that next!
Alright, let's talk about what you'll need in your cleaning arsenal. Tackling builders dust removal is no small feat, but having the right stuff on hand makes all the difference.
Start with a solid vacuum cleaner, preferably with a HEPA filter. These babies trap those microscopic particles that regular vacuums might blow back into the air. They can be a bit pricier, but when it comes to keeping your lungs and newly revamped space clean, they're worth it.
Next up, grab some microfiber cloths. Unlike ordinary cotton rags, these cloths are dust magnets. They trap and hold the dust instead of pushing it around. Trust me, you'll want a bunch of these.
For the wet clean, look for a mop with a detachable microfiber head. Dust is sneaky, and some will only let go with a bit of moisture. A gentle cleaning solution—something eco-friendly and safe for all surfaces—is essential too. If your surfaces can handle it, simple mixtures like water with a bit of vinegar can work wonders.
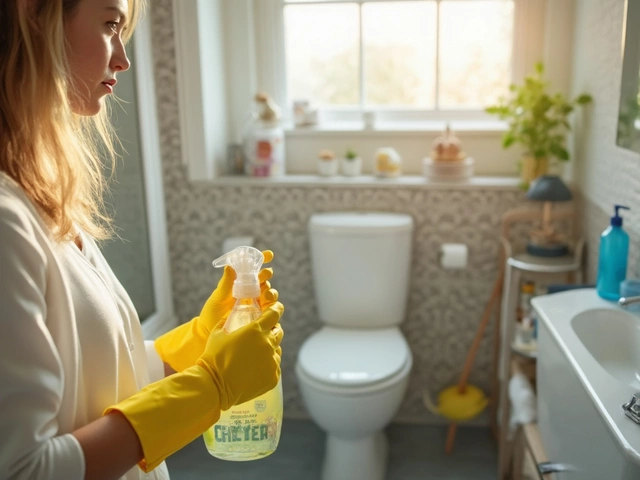
An often overlooked hero in the cleanup game is a pack of disposable dust masks. As you stir up dust, it’s a good idea to protect your lungs. These masks are cheap and can filter out most dust. Pair your mask with some safety goggles if your space looks like a sandstorm went through it.
If you're into data, here's a quick tip: Studies have shown that construction sites can produce up to 8 pounds of dust per 1,000 square feet of space. That's a lot of dust swirling around!
Armed with these tools, you're all set for some serious dust-busting. You'll be able to get that post-construction area looking spotless in no time.
Breathing in builders dust isn’t just annoying—it can be downright harmful. You’ve got to look after your lungs while you’re cleaning up the chaos left behind by construction. Safety first, right? Let’s break down some key health precautions that are worth sticking to:
Taking these precautions can keep you safe while you work through the mess. Some folks have reported feeling way better after they started wearing proper gear during cleanup. It’s also smart to take regular breaks, step outside for a moment, and get fresh air.
Want a bit of nerdy insight? Checkout this quick data on the effectiveness of proper masks and ventilation:
| Protection Method | Dust Particle Reduction |
|---|---|
| N95 Mask | Up to 95% |
| Open Windows | Up to 30% |
See? Small steps like using a mask and cracking a window aren’t just something experts say to keep nagging. They make a real difference in how much grime your lungs avoid. So gear up, air out, and conquer that clutter safely!
Alright, it's time to get down to business and tackle that builders dust once and for all. Don’t worry, I’ll walk you through it step-by-step, and before you know it, you'll have a dust-free home.
There you have it, a systematic approach to cleanup after construction that’s as simple as it is effective. Keep at it, and soon enough, your home will be as sparkling clean as you envisioned.

Once you've tackled the builders dust removal, the key is keeping it at bay. You don’t want to go through all the hassle just to find yourself back at square one in a week. Here are some tips to maintain that clean, fresh vibe in your home.
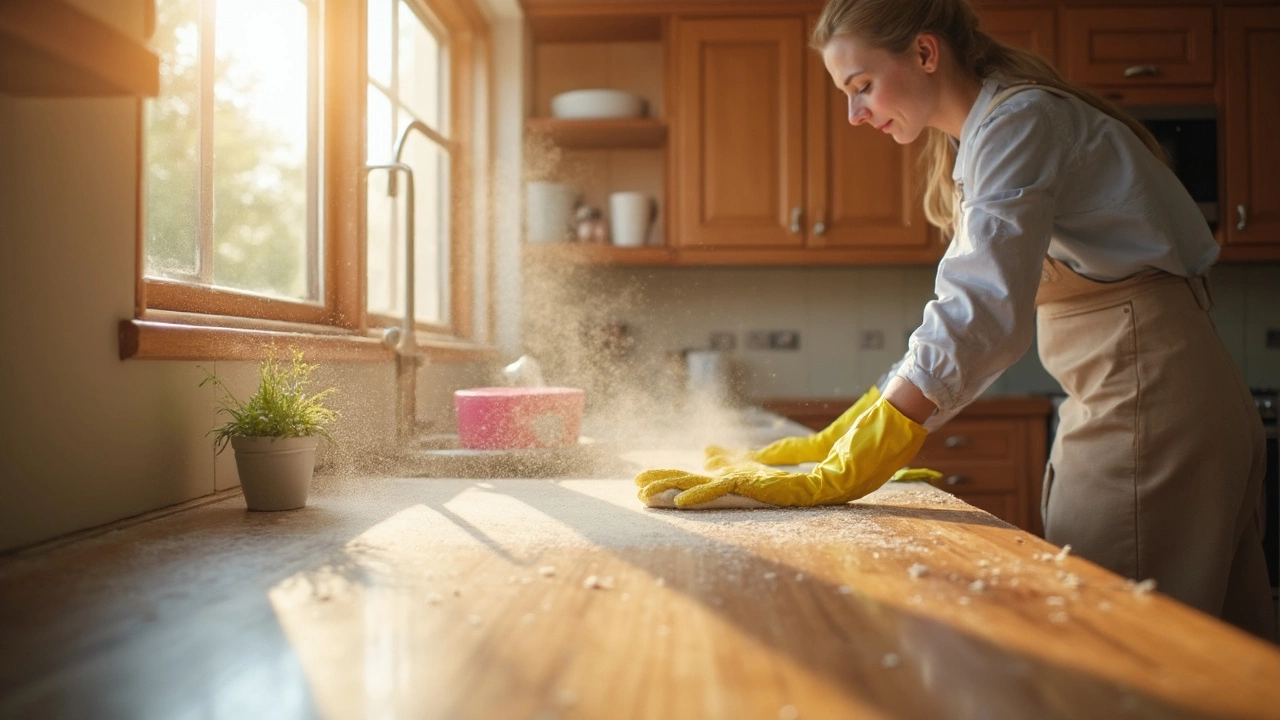
First up, regular cleaning is a must. Make it a habit to vacuum and dust every few days. This way, any dust that does sneak in doesn’t get time to settle. Use tools like a microfiber mop or cloths because they’re great at grabbing and holding dust instead of just pushing it around.
If possible, consider investing in an air purifier. These devices can do wonders in keeping the air fresh, especially those with HEPA filters designed to snag even the smallest particles. Running one in your living space for a few hours a day can dramatically reduce airborne dust.
Another neat trick is to wipe down the surfaces with a damp cloth. This not only picks up the dust but also keeps it from flying around. Just be sure not to soak the surfaces, as too much moisture can damage some materials.
Finally, don’t forget about your ventilation system. Change or clean your air filters regularly. It might seem like a small thing but it can significantly reduce the dust entering your home from outside. Here’s a quick reference table for when to change your filters, which could be handy:
| Filter Type | Replace/Clean Time |
|---|---|
| Standard Fiberglass | Every 30 days |
| Pleated Filters | Every 90 days |
| HEPA Filters | 6-12 months (check manufacturer instructions) |
Oh, and if you have pets, they can be sneaky dust contributors too. Regularly brushing them outside can reduce the amount of loose fur and dander floating around your home.
By staying on top of things and being proactive, keeping your home tidy after renovation gets a whole lot easier. It’s all about creating a routine that works for you.