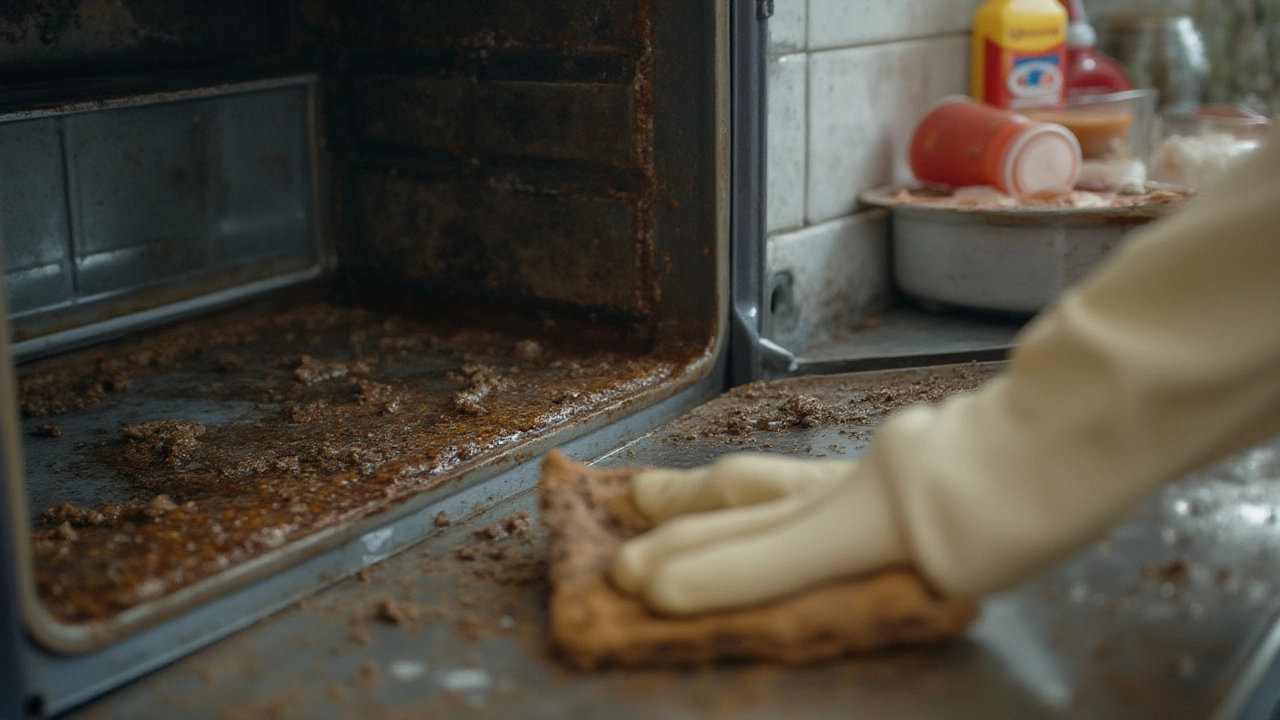
Open that oven door and brace yourself. Sticky brown streaks on glass, blackened crumbs lurking at every corner, a smell somewhere between forgotten pizza and charred regret—sound familiar? Neglected ovens can look so daunting that some of us think about just buying a new one instead. But don't worry, even if your oven hasn't seen a sponge since people still said "YOLO," you can bring it back to life. It just takes some grit, good tools, and a pinch of patience. Ready to roll up your sleeves?
Why Ovens Get So Gross—and Why You Should Clean Yours
Here’s a myth that refuses to die: "Ovens clean themselves when you bake." If only. Every casserole spill, every roasted chicken drip, and every forgotten cookie adds another stubborn layer to your oven. High heat just bakes it on harder. Skip cleaning often enough, and your oven becomes an archaeological dig—every meal gets its own layer.
What’s the risk? For starters, baked-on grease becomes a fire hazard. Even a thin layer can smoke up your kitchen, making food taste off and setting off smoke alarms, especially during high-temp roasting or self-clean cycles. And let's talk flavor: microscopic bits of burnt gunk can actually flavor your next meal—not in a good way. A University of Minnesota kitchen science study found that burnt residue can transfer acrid flavors, especially to baked goods. Even more, hidden crumbs invite pests, especially in older kitchens.
Most ovens have a couple of known trouble spots. The oven floor is the usual disaster zone: pizza cheese, pie filling, or the grease volcano from a roasting pan explosion. Then there’s the glass window, which turns cloudy after years of splatter. Lastly, racks build up sticky, resin-like residues that make everything harder to slide in and out.
Leaving it dirty also makes your oven less efficient. Layers between the heat source and your food mean uneven cooking—your lasagna might still be cold in the middle, while the top burns. Nobody wants that.
Gather Your Tools and Know What You’re Up Against
If you really want to clean an oven that hasn’t seen the light of day in years, trust me, those blue paper towels from the grocery store won’t cut it. Here’s your toolkit:
- Heavy-duty gloves — To avoid the grime and protect your skin from harsh cleaners.
- Eye protection—No, really, oven cleaner can splash.
- Stiff nylon brush and an old toothbrush for getting into crevices.
- Razor blade scraper—Great for glass but test gently.
- Plastic spatula—Don’t scratch enamel.
- Baking soda, white vinegar, and dish soap—A trio that actually beats most chemicals for caked-on mess.
- Oven cleaner—Buy a fume-free one if possible, especially if your kitchen isn't well-ventilated.
- Large trash bags for the racks (trust me on this for soaking).
- Microfiber cloths or strong rags for wiping and polishing.
- Bucket and warm water.
There’s another thing: Know your oven. Gas ovens have a vent you don't want to flood, while some electric ones have elements you can remove—which saves effort. Self-cleaning ovens? Don’t add cleaner to the special coating; it wrecks the finish. Always check the manual if you still have it somewhere (or Google the model).
It’s not a sprint. Budget at least 2-4 hours if you want to do it right. If you stick with it, the job will never be this tough again—promise. Ready for action?
Step-by-Step: Bringing Your Oven Back From the Dead
Here’s where things get real. Start with safety: pop open some windows, kick on a fan, and get the kids and pets far away. If your oven has a self-clean mode, skip chemical sprays and run the cycle first—this incinerates most food bits. But warning, this can make smoke detectors go crazy if it hasn’t been cleaned in years.
- Remove the racks. It’s easier to clean them separately. Put them in a bathtub or, if you can, outside on a tarp. Lay them flat in a trash bag and add enough hot water, dish soap, and half a cup of baking soda. Tie the bag and let racks soak for a couple of hours. The grime loosens dramatically.
- Sweep and vacuum out loose crumbs and dried bits from the oven. Knock off what you can with a plastic spatula—but don’t gouge the enamel.
- Mash up a paste of baking soda and water (about 1/2 cup baking soda and a few tablespoons of water, enough to make it spreadable). Smear this thickly over the floor, sides, and especially the blackest, most burned-on spots. Don’t worry about pretty.
- Let the baking soda do its thing—all night if possible. It softens and breaks down old carbonized grease without damaging the finish.
- For glass, cover it with more paste. After an hour or two, take your razor scraper (held at a very low angle) and gently slide it over the surface. The burned stuff should flake off in sheets if you’re lucky—if not, repeat and don’t rush.
- Focus on crevices and corners with the toothbrush. Don’t forget to clean the groove around the oven door.
- Wipe off baking soda using a damp rag. For the toughest spots, spray on vinegar—this will foam up and loosen residue. Use the brush again if needed.
- Rinse several times so no film is left behind—baked-on cleaning powder leaves a weird texture for weeks if you don’t clear it off completely.
- Remember to clean the door seal—often sticky and loaded with gunk after years. Don’t rip it though, it’s fragile.
- Shoot for a “clean enough” oven on the first try. If it still looks like a science experiment gone wrong, repeat the foaming paste and scraping. This job sometimes takes two rounds, but most people say the second round feels way easier.
- While all this is happening, check your racks. After soaking, scouring powder and a brush take off stuck material. Rinse well. If you used the bathtub, scour off any remaining black water—otherwise, your next shower will be an adventure.
- Slide racks back into your sparkling oven. Now step back and admire the world you’ve just conquered.
Here’s a quick stat for those curious how bad neglect really gets: On average, a rarely cleaned oven can have over 150 grams of caked food residue—according to a 2023 study from a British home appliances lab. That’s close to a third of a pound—yikes.
| Years Since Last Cleaning | Estimated Grime (grams) |
|---|
| 1 | 30g |
| 3 | 75g |
| 5+ | 150g+ |
Messy but fixable!
Keeping It Clean: Making the Job Way Easier Next Time
The hard part’s over. But let’s keep it from getting that bad again. You don’t have to go full Marie Kondo—just use the “clean a little, often” method.
- Use aluminum foil or oven liners (safe versions only) to catch spills when roasting or baking loose dishes.
- If something bubbles over, wipe it up once the oven cools even a little—don’t wait for it to become burnt carbon art.
- Monthly, do a quick wipe-down with a damp cloth after the oven’s still a bit warm. That’s when grease is softest and easiest to remove.
- For racks, keep a scouring pad handy and give them a quick once-over when they look sticky or tough to slide.
- If your oven has a self-cleaning option, use it—but not more than a couple of times per year, or you risk damaging the enamel.
- Avoid strong chemical sprays unless the job’s truly impossible. Baking soda and vinegar work wonders in most cases and won’t make your kitchen stink or ruin the finish.
- Watch out for glass cleaner on oven glass—many can leave streaks or react with heat-resistant coatings.
It only takes five minutes here and there to save you another four-hour battle. Plus, future meals will taste better and your oven will heat up faster. You’ve earned your clean-slate kitchen—just don’t let it slip back into chaos. And yes, it’s totally normal to open the door and admire your shiny, grease-free oven for no reason at all.
No shame. You did the work.