Ovens see everything. Thanksgiving feasts, Christmas cookies, school-night casseroles, and last-minute frozen pizzas. Each one seems to leave a little memory behind in the form of crusty cheese or greasy splatters. If you're like most people, oven cleaning isn't your favorite thing. But nothing ruins a home-cooked meal like the smell of last month’s lasagna wafting up on pizza night. People avoid cleaning their ovens because it’s infamous for being tough—sticky grease and baked-on messes can make it feel like battling a monster. Here’s the deal: you don’t need toxic fumes, aching arms, or expensive services. The secret? Using the right method—tailored for your mess and your oven.
Baking soda and vinegar don’t magically zap away burnt-on cheese. That “self-clean” button won’t do all the work. The truth is, oven cleaning is surrounded by half-stories and marketing hype. The first myth that trips people up is relying on citrus peels, cola, or coffee grounds—these sound quirky but do almost nothing against carbon build-up. Commercial cleaners have serious muscle, but the fumes can sting your nose and stick around for days. An American Lung Association survey from 2022 found nearly 45% of people worried about harsh cleaning chemicals in enclosed kitchens. No wonder folks are searching for alternatives.
Let’s talk numbers. Ovens can reach temperatures over 900°F (480°C) during self-cleaning modes. Sounds powerful, but this actually increases wear on internal parts—heating elements, gaskets, and even cabinetry can suffer, leading to more frequent repairs or even a voided warranty. A 2021 appliance industry report pointed out that over 20% of oven breakdowns happen within a year of using the self-clean feature. If you’re picturing a hassle-free fix, think twice. The carbonized debris left after self-cleaning often needs manual wiping anyway. So, while your oven can take high heat, using it the wrong way shortens its life.
The most stubborn mess is that glossy, jet-black glaze made from sugar or cheese stuck for a few cycles. Here’s an overlooked fact: letting food mess cool and harden makes it ten times harder to remove. British kitchen appliance manufacturer Smeg tested this—fresh oven spills wiped up right away were 87% easier to remove than those left to cool. Think of this simple tip as your first defense.
Some popular “natural” tricks only work for mild grime. Baking soda paste is great, but only if you let it sit for 12-16 hours. Vinegar helps, but not for heavy-duty burnt food. Store brands sell eco-friendly gels and foams—these skip ammonia but are slower. Consumer Reports found that only three out of twelve “green” products worked nearly as well as caustic ones, and they cost up to 70% more. So unless you’re spot-cleaning weekly, don’t expect miracles.
If your oven’s fan or heating element is exposed, you shouldn’t spray anything directly on the metal parts. Liquid can short out the element—hello, repair bill. Separate racks are easier to tackle in a bathtub or sink using a trash bag and ammonia or a dish soap soak, but be sure you keep windows open and pets away.
Here’s a tip very few people use: invest in a heavy silicone baking sheet or “oven liner.” These catch drips before they land and bake onto the porcelain. They cost about $10-$15 and can be cleaned separately. But don’t confuse them with aluminum foil—the latter blocks airflow and damages ovens, which most user manuals warn against.
One critical warning: self-cleaning cycles release carbon monoxide and are unsafe if you have respiratory issues or pets in the kitchen. The CDC’s Household Pollutant Data highlights that carbon monoxide spikes 300-400% in households using self-cleaning ovens, especially older models. Always make sure your kitchen is well ventilated when cleaning.
Let’s face it: not all oven messes are created equal. Grease, burnt sugar, cheesy overflows, and splashed tomato sauce each demand a different approach. If you want a genuinely clean oven, matching the solution to the stain is key.
First up, for surprisingly quick grime removal, hot water is your friend. Run your oven at 200°F (about 95°C) for 20 minutes with an oven-safe pan of water inside. The steam softens dried junk so you can wipe it off with a cloth. This is safe, chemical-free, and everyone can try it. Not a miracle, but it seriously helps prep before any real scrubbing.
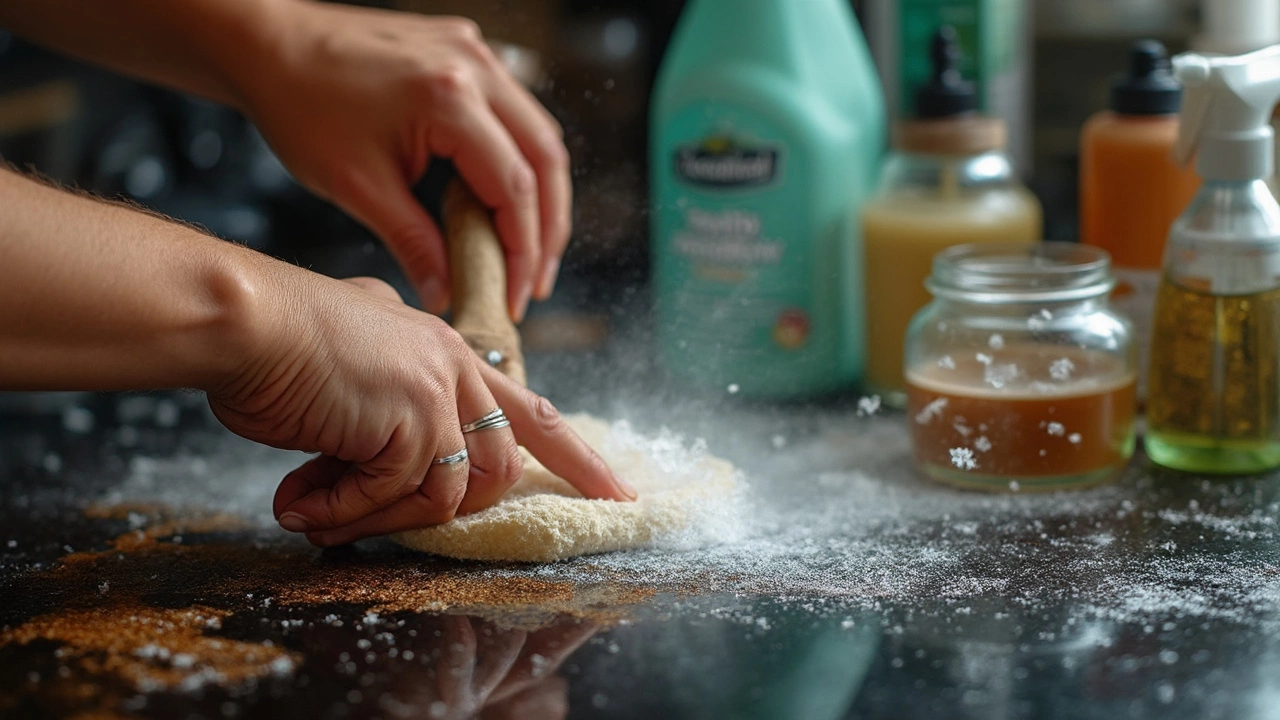
When it comes to actual scrubbing, baking soda paste still rules for DIY. Mix half a cup of baking soda with warm water to make a thick paste. Smear it all over the greasy spots and let it sit overnight—at least 12 hours. This is important: don’t underestimate how much time it takes for the chemical reaction to happen. The next day, use a plastic scraper (never metal, or you’ll scratch the enamel) to lift off the goo. Wipe the surfaces with hot water and finish with a spritz of vinegar to neutralize leftover baking soda. If you want extra muscle for super stubborn stains, add a few drops of dish soap or hydrogen peroxide to the paste.
For heavy, burnt-on carbon (especially if you’ve inherited a seriously neglected oven), you may need a commercial cleaner. Brands like Easy-Off or Mr. Muscle are tried-and-true, but you must ventilate well. Many oven cleaners rely on sodium hydroxide, which breaks down grease and char in just 15-30 minutes. Just don’t leave them on for hours, or the chemical can etch your oven floor or racks. Always wear gloves and goggles, because these chemicals aren’t skin-friendly. There’s a reason they work so well—they’re designed to, but safety comes first.
Oven racks deserve special attention. Take them out, slip them into a big garbage bag, and pour in half a cup of ammonia (hold your breath for this part). Tie the bag tight and leave it outside overnight. The fumes eat away at burnt-on grime, and the next day, you’ll just need a sponge and hot water to finish the job. DIYers swear by this because it targets the gunk without endless scrubbing. Just never do this inside your house—ammonia fumes are strong.
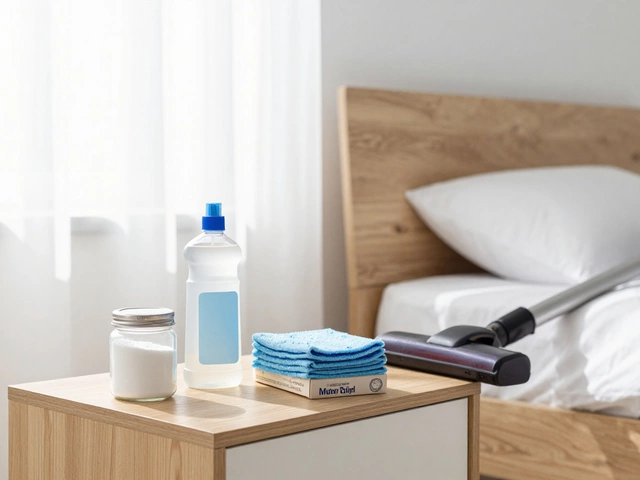
Let’s talk about store-bought ‘oven cleaning kits.’ Many include scour pads or cleaning pens, but you might pay $20 for $4 of supplies. You’re better off making your own kit: baking soda, vinegar, gloves, a razor scraper (for glass ONLY), microfiber cloths, and a silicone baking mat. This covers 95% of oven cleaning jobs and lasts for months.
Here’s a quick table comparing some common oven cleaning methods and how they stack up on effectiveness, cost, and effort:
| Method | Effectiveness | Time Needed | Effort Level | Cost |
|---|---|---|---|---|
| Baking Soda Paste | Good for light/medium stains | Overnight | Low | Low |
| Steam Cleaning | Poor for heavy stains | 30 min | Very Low | None |
| Commercial Cleaner oven cleaning | Excellent for heavy stains | 45 min | Medium/High | Medium |
| Ammonia Bag for Racks | Excellent for racks | Overnight | Low | Low |
| Self-Clean Mode | Good, with risks | 3-6 hr | Low | None |
| Oven Liners | Prevent Mess | Continuous | Very Low | Low |
Notice, no single method comes out on top for every mess. Mix and match based on what your oven’s facing.
If you’ve got a glass oven door covered in brown haze, skip the baking soda—try a razor blade scraper, held at an angle, and gently remove the film. This only works on glass, but it’s a game-changer if you’re careful.
Worried about smells lingering after cleaning? Place a halved lemon in a ramekin of water and bake at low heat for half an hour after cleaning. This freshens up the oven and neutralizes cleaner odors without a trace of chemicals.

Want crystal-clear steps for that Instagram-worthy oven? You don’t want burned arms, torn knuckles, or clouds of choking fumes—so here’s a plan that avoids all three. Before you suit up, check that your oven has completely cooled (duh, but you’d be surprised how often this is skipped). Wear gloves and, if using strong chemicals, goggles too. Open windows or switch on your kitchen fan for airflow.
Most people clean their ovens twice a year. But if you cook a lot or love roast chicken, monthly spot checks make life easier. Use a silicone mat or oven liner to keep new spills at bay, and you’ll never tackle a monster mess again.
It’s tempting to take shortcuts, but skipping deep cleaning invites smoke, weird flavors, even fires—one study by the U.S. Fire Administration found that 7% of kitchen fires traced back to dirty ovens. A sparkling oven isn’t just bragging rights—it’s safer and makes food taste better. And remember: don’t wait until the smell makes you cringe. A little work, done right, saves you loads of hassle down the road.