Effective Post-Construction Cleaning: How to Clean Your Home After a Builder
Post-Construction Cleaning Tool Selector
Select Your Cleaning Task
Recommended Tools
For your selected task, these tools will be most effective:
Pro Tip
Always wear safety gear including an N95 mask, protective gloves, and safety goggles to protect against construction dust.
Quick Takeaways
Start with a safety check: wear a dust mask, gloves, and protect your eyes.
Remove large debris before tackling fine dust.
Use a HEPA vacuum on all hard‑floor surfaces.
Wipe every flat surface with a Microfiber Cloth is a lint‑free, highly absorbent fabric that traps dust instead of spreading it.
Finish with a deep‑clean mop and a mild all‑purpose cleaner for shine.
Why Post‑Construction Cleaning Feels Different
When a builder leaves, you’re not dealing with everyday crumbs or pet hair. The dust is a mix of plaster, cement, sawdust and fine particles that can settle deep into carpet fibers, HVAC vents, and even behind walls. If you skip a thorough cleanup, you risk lingering allergens, stubborn stains, and a dull finish on freshly painted surfaces.
That’s why a dedicated Post-Construction Cleaning is a multi‑step process that targets both large debris and microscopic dust. The goal is to protect your health, preserve new finishes, and make the space truly move‑in ready.
Safety First: Gear Up Before You Begin
Construction sites leave behind more than just visual clutter. Airborne silica, fiberglass, and chemical fumes can irritate lungs and eyes. Here’s the essential safety kit:
Dust Mask is a breathable filter designed to block fine particles, especially those under 5 microns - choose N95 or higher.
Protective Gloves are puncture‑resistant, chemical‑proof gloves that keep hands safe from sharp debris and cleaning agents.
Safety goggles to shield eyes from plaster splashes.
Closed‑toe shoes for foot protection.
Wear the gear before you step into the room. It’s a small inconvenience that saves you headaches later.
Step‑1: Clear Out the Big Stuff
Before dust becomes a nightmare, remove all obvious debris.
Gather a sturdy Floor Scraper is a flat, sharp‑edged tool used to lift stuck mortar, paint chips, and adhesive residues and pry off wood shavings, broken drywall, and loose tiles.
Use a broom with soft bristles to sweep larger pieces into a heavy‑duty trash bag.
Cover windows and doors with Plastic Sheeting is a durable polyethylene film that traps dust and prevents it from spreading to other rooms while you work.
Dispose of the material according to local construction waste guidelines - many municipalities have specific drop‑off sites for drywall and concrete.
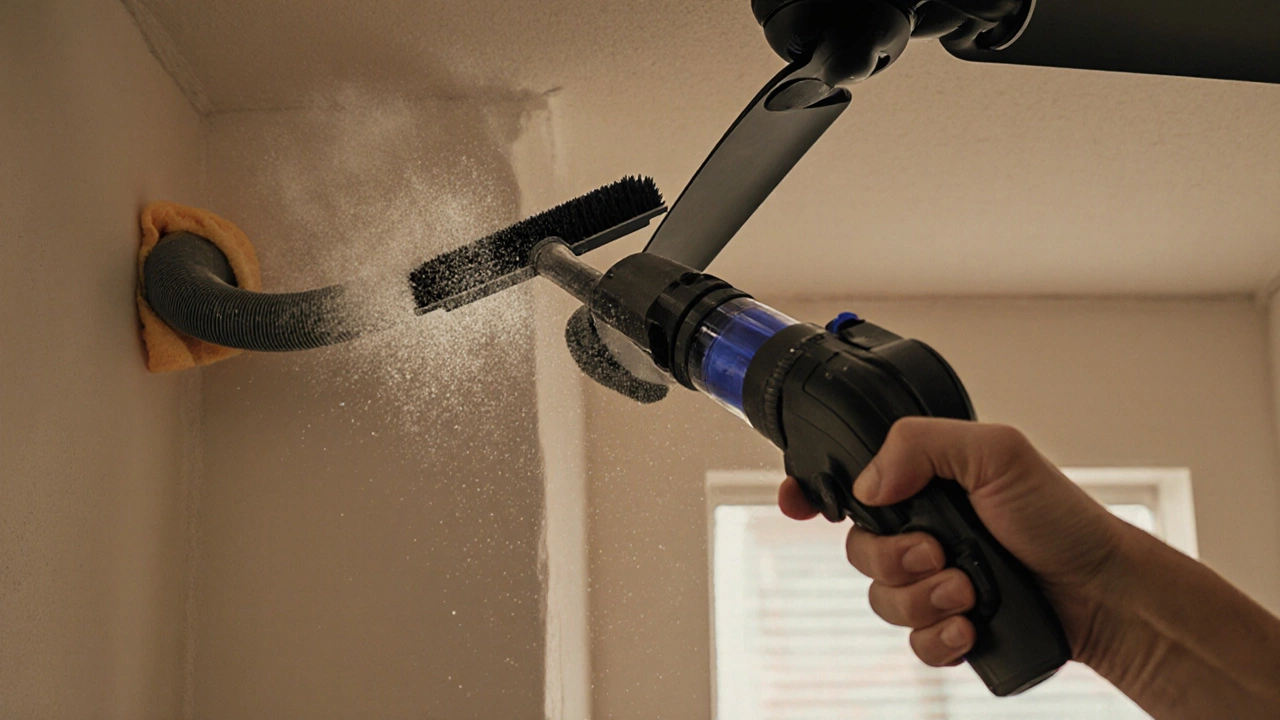
Step‑2: Attack the Fine Dust
Now the real challenge begins. Fine dust can settle on everything, from ceiling fans to cabinet interiors.
Start at the highest points - ceiling corners, light fixtures, and vent covers. Use a soft brush attachment on a HEPA Vacuum is a vacuum equipped with a high‑efficiency particulate air filter that captures 99.97% of particles down to 0.3 microns. This prevents dust from blowing around while you clean.
Move down to walls. Wipe them with a damp Microfiber Cloth is a lint‑free, highly absorbent fabric that traps dust instead of spreading it soaked in warm water. For painted walls, add a few drops of mild dish soap.
For textured surfaces, use an extension wand with a soft brush head, then vacuum the loosened dust.
Repeat the vacuum‑and‑wipe cycle two times to ensure no residue is left.
Step‑3: Deep Clean Floors
Hard floors - wood, tile, laminate - need a different approach.
For tile or stone, mop with a pH‑neutral cleaner. Avoid acidic cleaners on marble.
For hardwood, use a damp (not wet) mop with a wood‑safe cleaner. Excess moisture can warp boards.
Carpets require a two‑stage method: first, vacuum with the HEPA Vacuum on a low‑speed setting. Then, sprinkle a carpet‑safe powder deodorizer, let it sit 15 minutes, and vacuum again.
If you notice stubborn cement spots on tile, apply a poultice of baking soda mixed with water, let it dry, then scrub gently.
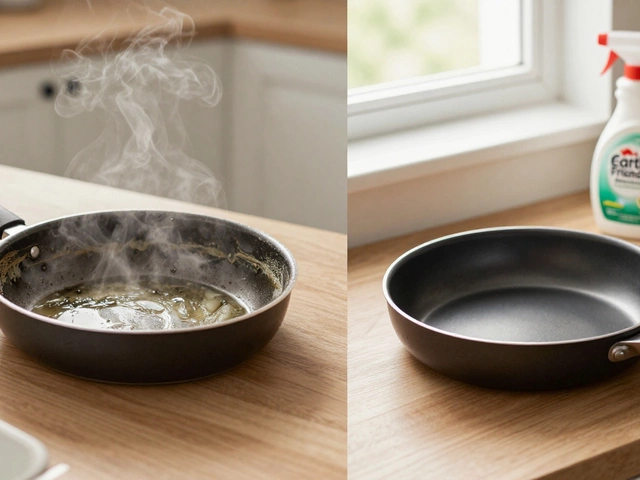
Step‑4: Clean the Kitchen and Bathrooms
These rooms often see the most construction activity - think of tile cuts, grout, and pipe work.
Remove any leftover caulk or silicone with a razor blade scraper, being careful not to scratch surfaces.
Wipe down countertops using an All‑Purpose Cleaner is a versatile, non‑abrasive cleaning solution suitable for countertops, tiles, and sealed surfaces diluted as per label instructions.
If you spot mold or mildew from lingering moisture, apply a Mildew Remover is a chlorine‑free spray designed to kill mold spores without damaging painted or tiled surfaces, let it sit five minutes, then rinse.
Finish by polishing fixtures with a dry microfiber cloth for a streak‑free shine.
Step‑5: Tackle Windows, Doors, and Trim
Construction can leave paint splatters on glass and dust on frames.
For glass, use a vinegar‑water solution in a spray bottle, wipe with a clean microfiber cloth, then buff with a dry portion.
For wooden trim, dust first, then apply a light coat of polish safe for finished wood.
Check door hinges for grit; spray a drop of lubricant and wipe away excess.
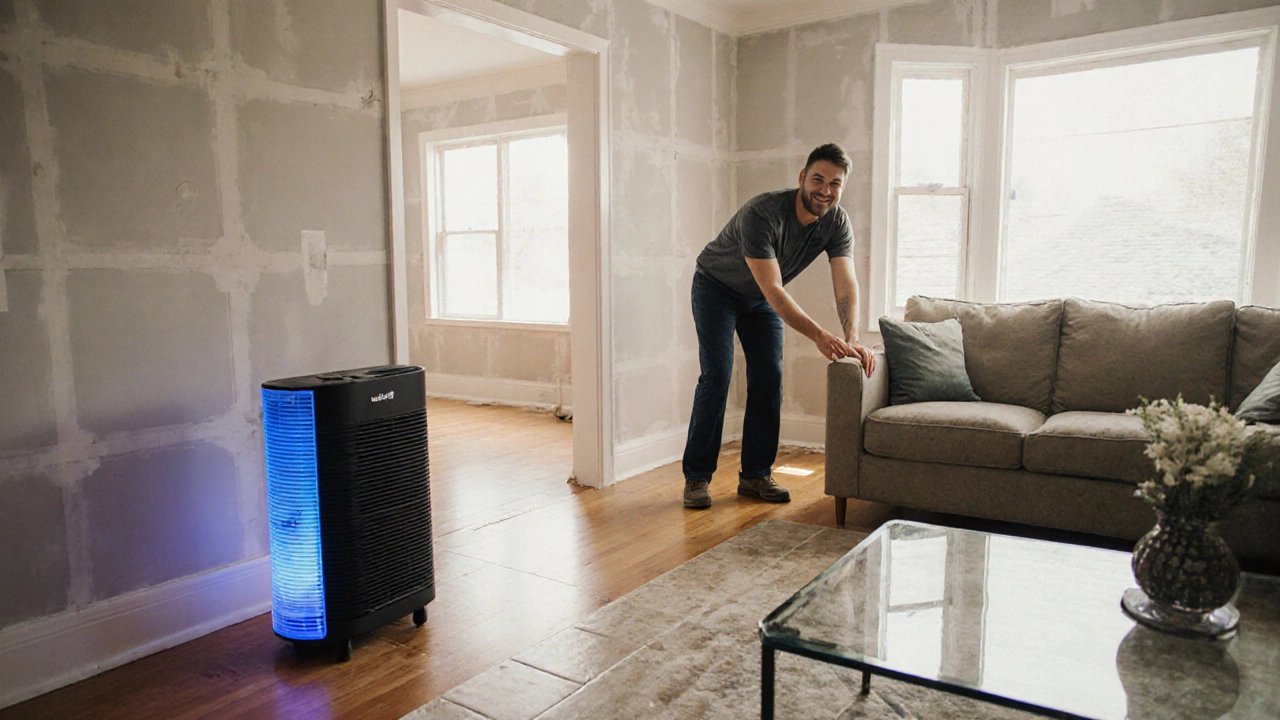
Step‑6: Final Inspection and Air Quality Check
Once you’ve cleaned every surface, walk through each room and look for missed spots. Pay special attention to:
Vent covers - vacuum them again.
Light switches - wipe with a disinfectant wipe.
Floor edges - run your hand along baseboards to feel for remaining dust.
If the house still feels dusty, run the HVAC system on “fresh air” mode for 15 minutes with fresh filters. Consider placing an air purifier with a HEPA filter in the main living area for a few days.
Tool Comparison Table
Choosing the Right Cleaning Tool for Post‑Construction Jobs
Tool
Best For
Key Feature
Typical Cost (USD)
HEPA Vacuum is a vacuum equipped with a high‑efficiency particulate air filter that captures 99.97% of particles down to 0.3 microns
Fine dust, allergens
Seal‑tight filter, multiple attachments
$150‑$300
Floor Scraper is a flat, sharp‑edged tool used to lift stuck mortar, paint chips, and adhesive residues
Large debris, dried mortar
Sturdy handle, replaceable blades
$20‑$45
Microfiber Cloth is a lint‑free, highly absorbent fabric that traps dust instead of spreading it
Wiping surfaces, polishing
High absorption, reusable
$5‑$15 (pack of 6)
All‑Purpose Cleaner is a versatile, non‑abrasive cleaning solution suitable for countertops, tiles, and sealed surfaces
General surfaces
pH‑balanced, biodegradable
$4‑$8 per bottle
Mildew Remover is a chlorine‑free spray designed to kill mold spores without damaging painted or tiled surfaces
Mold, mildew spots
Fast‑acting, safe on grout
$6‑$12 per can
Common Pitfalls and How to Avoid Them
Skipping protective gear: Dust inhalation can cause long‑term respiratory issues.
Using the wrong cleaner on stone: Acidic cleaners etch marble and limestone.
Rinsing floors with too much water: Over‑wetting wood can warp planks.
Neglecting HVAC vents: Dust recirculated through the system can redeposit everywhere.
Rushing the final inspection: Small specks of plaster can become visible after a few days.
Tips for a Faster, Smoother Clean
Divide the house into zones and finish one zone before moving to the next.
Keep a trash bag handy - empty it before it fills up.
Work from top to bottom to prevent re‑soiling cleaned areas.
Use a portable fan to push dust down to the floor where it’s easier to capture.
Schedule a professional deep‑cleaning service if you have extensive drywall dust; they have industrial‑grade equipment.
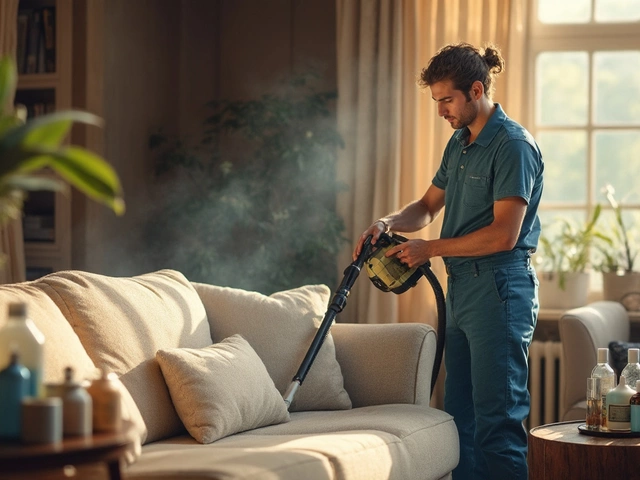
When to Call a Professional Service
If you encounter any of these scenarios, it’s wise to bring in experts:
Extensive cement spill covering >200sqft.
Visible asbestos or lead‑based paint dust (common in homes built before 1978).
Time constraints - a full post‑construction clean can take 1‑3 days for an average-sized house.
Professional teams often use industrial HEPA‑filtered air scrubbers, which dramatically reduce airborne particles in minutes.
Final Thoughts
Cleaning a house after a builder isn’t just about making it look tidy; it’s about safeguarding health, preserving new finishes, and setting the stage for a comfortable home life. With the right gear, a clear step‑by‑step plan, and a little patience, you can turn a dusty construction site into a sparkling sanctuary.
Frequently Asked Questions
How long does a full post‑construction clean usually take?
For a 2,000‑sq‑ft home, expect 1‑3 days of work if you’re doing it yourself, depending on the amount of dust and debris.
Is a regular household vacuum enough?
A standard vacuum will miss the finest silica particles. A HEPA‑rated model captures 99.97% of dust down to 0.3µm, which is crucial after construction.
Can I use bleach to clean all surfaces?
Bleach is safe on tile and glass but can damage wood, stone, and painted surfaces. Stick to pH‑balanced cleaners for most jobs.
Do I need to replace HVAC filters after cleaning?
Yes. Construction dust can clog filters quickly. Replace them after the initial deep clean, then again after a week of normal use.
What’s the best way to remove dried paint from a floor?
Apply a commercial paint remover or a homemade mix of 1part denatured alcohol to 3parts water, let it sit 10minutes, then scrape gently with a floor scraper.