Window Streaks: Why They Appear and How to Banish Them
When dealing with window streaks, the first thing to understand is the core problem. Window streaks, unsightly lines or smears left on glass after cleaning. Also known as glass streaks, they are a sign that the cleaning process missed something or used the wrong tools.
Getting rid of them means mastering a few key pieces of equipment and techniques. Streak‑free windows, perfectly clear glass with no visible lines or spots are the end goal, and they require the right window cleaning tools, squeegees, microfiber cloths, and proper detergents. A solid squeegee technique, smooth, overlapping strokes with steady pressure prevents water from drying in place and leaving marks. Finally, the chemistry matters: a well‑balanced DIY window cleaner, a mix of water, vinegar, and a drop of dish soap can cut mineral deposits without leaving residue.
What Causes Window Streaks?
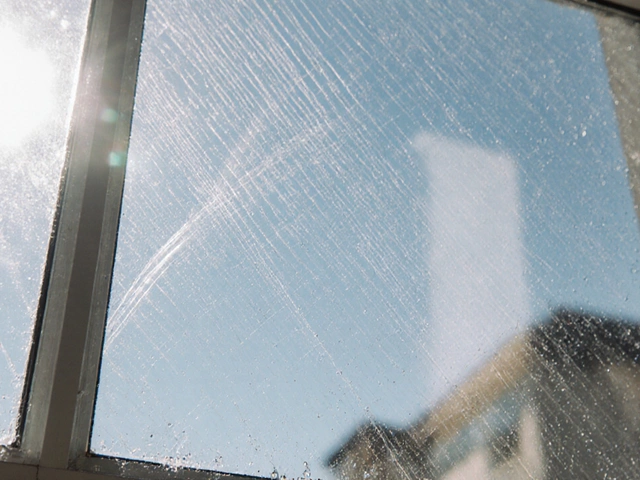
There are three main culprits: water quality, cleaning method, and drying technique. Hard water leaves calcium deposits that look like faint lines once the water evaporates. If you skip a proper rinse, those minerals stay on the glass. Using a cloth that isn’t lint‑free or wiping in circular motions spreads the residue instead of removing it. And drying the pane with a paper towel or a rough fabric can trap moisture, creating the classic “rain‑streak” effect.
Semantic relationships help break this down: Window streaks encompass improper cleaning methods; Achieving streak‑free windows requires the right tools; DIY window cleaners influence the final shine. By treating each cause as an attribute, you can target the fix directly.
Pro Tips for Spotless Glass
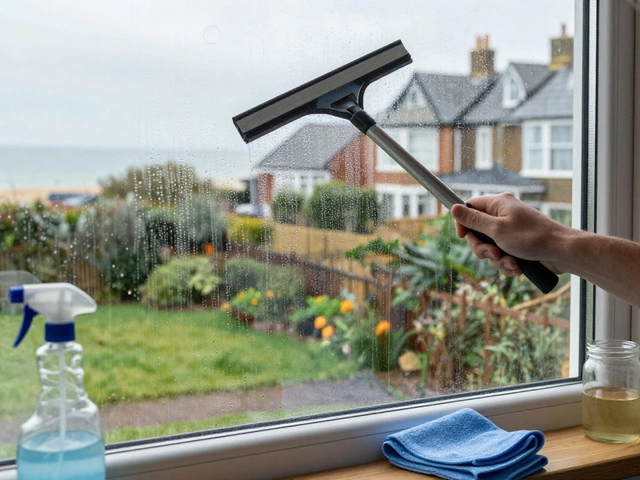
Start with a clean base. Warm, de‑mineralized water removes most grime without leaving mineral trails. Apply a thin layer of your DIY cleaner—mix one part white vinegar with three parts water and a splash of Dawn dish soap—and let it sit for a minute to dissolve stubborn film. Then, grab a high‑quality squeegee with a rubber blade. Pull the blade across the glass in a straight line, starting at the top corner, and wipe the blade with a clean microfiber cloth after each pass. Overlap each stroke slightly to catch any leftover liquid.
If you prefer a spray‑only approach, use a bottle that dispenses a fine mist. Too much product creates a film that dries too fast and leaves streaks. For a finishing touch, polish the edges with a dry microfiber cloth in a circular motion; this removes any remaining droplets and gives the glass a professional shine.
Remember that the environment matters too. Cleaning on a cloudy day prevents the sun from drying the solution too quickly, which is a common source of streaks on bright mornings. And if you’re tackling large panes, work in sections to keep the solution wet long enough to be wiped away properly.
These strategies tie back to our earlier entities: the squeegee technique is the bridge between cleaning solution and streak‑free result; the DIY window cleaner provides the chemical edge needed to combat hard‑water deposits; and the window cleaning tools ensure you’re not re‑introducing lint or scratches.
With these basics covered, you’ll notice a dramatic drop in those annoying lines. The next section of this page gathers deeper dives, product reviews, and step‑by‑step guides that expand on each of these points. Whether you’re a first‑time homeowner or a seasoned DIY enthusiast, the articles below will give you the exact tactics you need to keep every pane crystal clear.