Select the surfaces in your newly built or renovated space to get specific cleaning instructions, recommended tools, and safety cautions.
You’ve finally reached the finish line. The scaffolding is down, the dust sheets are folded away, and the builders have handed over the keys. But if you look closer, your new space doesn’t quite feel like home yet. There’s a fine layer of cement splatter on the skirting boards, dried adhesive on the window sills, and that distinct smell of fresh plaster mixed with sawdust. This is where most people make a critical mistake: they think the job is done because the construction crew left.
The reality is that builders cleaning is rarely enough for a comfortable living environment or a successful property handover. Builders focus on structural integrity, not hygiene. Their cleanup is usually just enough to clear debris so they can leave the site safely. If you want a space that is truly livable, safe, and pristine, there is a specific sequence of steps you need to take immediately after the builders pack up their tools.
To understand what comes next, you first need to understand what has already been done. In the construction industry, cleaning happens in stages. The first stage is often called the "rough clean" or "construction clean." This involves removing large debris like bricks, wood offcuts, packaging materials, and heavy dust. It ensures the site is walkable and safe from trip hazards.
However, this stage leaves behind microscopic particles. Plaster dust settles into every crevice, electrical socket, and ventilation grille. Paint splatters harden on floors and windows. Adhesive residue remains on tiles. If you move furniture in now, you will essentially seal this grime into your carpets and upholstery. That is why the next step is not just "cleaning"-it is a specialized process known as the final clean or deep clean.
This phase requires different tools, chemicals, and techniques than standard household cleaning. You cannot simply grab a mop and a bucket. You need industrial-strength degreasers for floor adhesives, microfiber cloths that trap rather than spread dust, and vacuum cleaners with HEPA filters to capture fine particulate matter that regular vacuums blow back into the air.
Before you touch a spray bottle, you need to do a systematic walkthrough. This isn’t about judging the quality of the build work-that should have been done before the final clean started-but about identifying the types of dirt present. Different surfaces require different treatments. Cement splashes on brickwork need acidic cleaners, while silicone sealant on bathroom tiles needs a blade scraper and solvent. Mixing these up can damage your new surfaces permanently.
Start by removing any remaining small debris that might have been missed. Check inside cupboards, under sinks, and behind radiators. Builders often drop screws, nails, or bits of plastic here. Use a magnet to sweep floors for metal fragments. Once the loose debris is gone, begin with the highest points in the room. Dust always falls downward. If you clean the floor first, then wipe the ceiling cornices, you will just dirty the floor again.
Now that the airborne dust is settled and removed, it is time to tackle the surfaces. This is the core of the post-builder cleaning process. Each material demands a specific approach to avoid scratches or chemical burns.
| Surface Type | Common Contaminants | Recommended Tool/Cleaner | Caution |
|---|---|---|---|
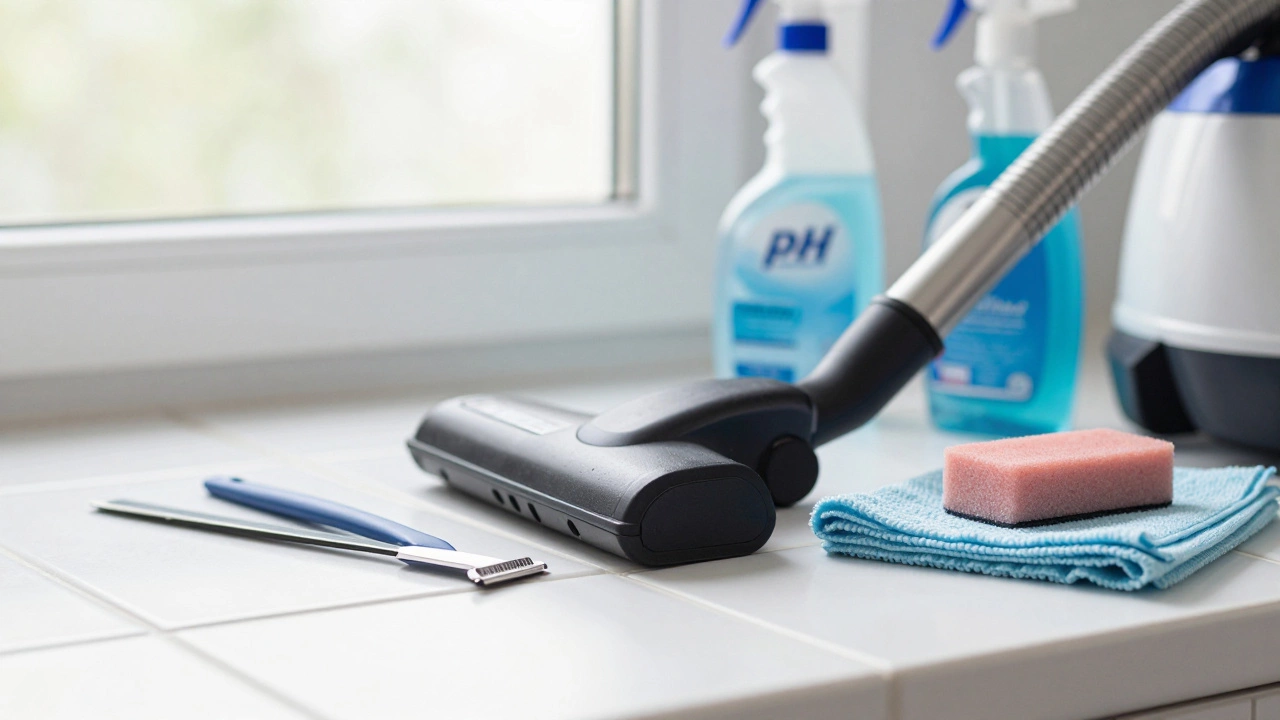
| Tiled Floors & Walls | Cement haze, grout smears, paint splashes | pH-neutral tile cleaner, grout brush, razor blade (for paint) | Avoid acidic cleaners on natural stone tiles |
| Hardwood/Laminate Floors | Adhesive residue, sanding dust, nail polish marks | Wood-safe adhesive remover, soft microfiber pad | Never soak the floor; excess water damages laminate cores |
| Kitchen Cabinets (Laminate/Wood) | Grease, paint overspray, sticky labels | Mild dish soap solution, magic eraser (lightly) | Test solvents on a hidden corner first to prevent discoloration |
| Bathroom Sanitaryware | Limescale, silicone blobs, metal marks | Limescale remover, silicone removal tool | d>Do not mix limescale removers with bleach-based products |
| Windows & Glass Doors | Paint drips, cement splatter, general dust | Glass scraper, ammonia-free glass cleaner, squeegee | Scrape at a 45-degree angle to avoid scratching glass |
For kitchen cabinets, pay special attention to the handles and hinges. Grease from installation gloves often gets trapped here. For bathrooms, check the silicone seals around bathtubs and showers. If the builders used too much silicone, trim it carefully with a utility knife before it cures completely, then smooth it out with a wet finger or silicone smoothing tool. A neat seal looks professional and prevents mold growth later.
Floors take the most abuse during construction. They are walked on with muddy boots, dragged across with heavy appliances, and covered in spilled materials. Depending on your flooring type, the cleaning method varies significantly.
If you have carpet, you must hire a professional steam cleaner. Construction dust contains silica and other abrasive particles that act like sandpaper on carpet fibers. Vacuuming alone will not remove embedded grit. Steam cleaning extracts this dirt and sanitizes the fibers. Do this before moving in any furniture to ensure you don’t track dirt onto clean areas.
For hardwood floors, start by sweeping with a soft-bristled broom to lift loose dust. Then, use a damp mop with a pH-balanced wood cleaner. Avoid wax-based polishes unless recommended by the installer, as they can interfere with future refinishing. If there are adhesive residues, apply a specialized adhesive remover according to the manufacturer’s instructions, let it sit, and gently scrape it off with a plastic scraper.
Vinyl and laminate floors require less intensive care but are sensitive to moisture. Use a well-wrung mop and avoid standing water. Any white hazy film left after cleaning is usually mineral deposits from hard water; rinse with clean water and dry with a towel.
New appliances come wrapped in protective film. While it is satisfying to peel this off, many people forget to check for residue underneath. Adhesive from the film can leave a sticky mess that attracts dust. Use a small amount of cooking oil or a dedicated adhesive remover on a cloth to wipe down stainless steel fridges, ovens, and dishwasher fronts.
Inside the oven, run a self-cleaning cycle if available, or wipe it down with a non-abrasive oven cleaner. Check the interior light bulb and door seals for dust. For washing machines, run an empty hot wash cycle with vinegar or a machine cleaner to flush out any manufacturing residues from the drum and hoses.
Light switches and power outlets are high-touch areas that often get overlooked. Unplug the main breaker if you are unsure, or use a dry, lint-free cloth to wipe the faceplates. Never use liquid cleaners directly on electrical fixtures. For radiators, wipe the fins with a vacuum brush attachment to remove dust that could affect heat efficiency.
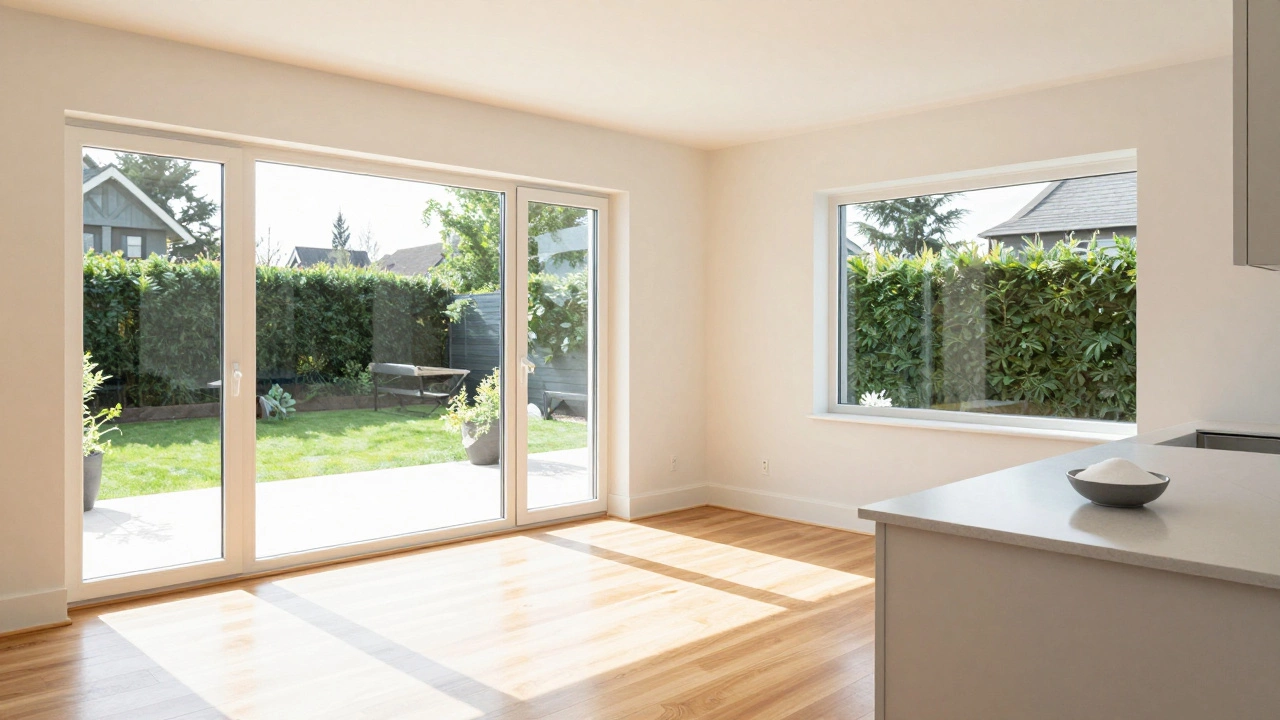
Even after all visible dirt is gone, the air in a newly built or renovated space can feel stale. This is due to volatile organic compounds (VOCs) released from paints, glues, and new furniture. To improve air quality, open all windows and doors to create cross-ventilation. Run fans to push air out.
Replace all HVAC filters with new ones. The old filters are likely clogged with construction dust, which reduces airflow and circulates allergens. Consider placing bowls of baking soda or activated charcoal around the rooms to absorb lingering odors. Avoid using strong synthetic air fresheners, as they merely mask smells rather than eliminating pollutants.
You can handle most of the detailed cleaning yourself if you have the time and right equipment. However, there are scenarios where hiring a professional end-of-tenancy cleaning service or a specialist post-construction cleaner is worth the investment.
Hire professionals if:
DIY is suitable for minor renovations like painting a room or replacing kitchen cabinets, where the level of contamination is low. Always ask for references and check reviews when hiring cleaners. Ensure they use eco-friendly products if you have pets or young children, as chemical residues can pose health risks.
Once the cleaning is complete, do a final walkthrough with a bright flashlight. Shine the light at an angle across walls and floors to reveal any missed dust streaks or fingerprints. Touch up these spots immediately.
To maintain this freshness, establish a routine cleaning schedule. Vacuum high-traffic areas twice a week. Wipe down kitchen counters and bathroom surfaces daily to prevent buildup. Keep a set of microfiber cloths and appropriate cleaners accessible for quick touch-ups. By taking these steps after the builders leave, you transform a construction site into a welcoming home.
You should begin the detailed cleaning process within 24 to 48 hours after the builders leave. Waiting longer allows dust to settle deeply into porous surfaces like carpets and unsealed wood, making it harder to remove. Additionally, some adhesives and paints cure over time, becoming more difficult to scrape off if left untreated.
No, you should not use a standard household vacuum for heavy construction dust. Most home vacuums lack HEPA filtration and may blow fine particulate matter back into the air, causing respiratory issues. They can also clog quickly and damage the motor. Use a shop vacuum or a vacuum specifically designed for construction sites with HEPA filters.
For water-based paint, a razor blade held at a 45-degree angle works well to scrape off dried splatters without scratching the tile. For oil-based paint, you may need a solvent like acetone or a commercial paint remover. Always test the solvent on a small, hidden area first to ensure it does not damage the tile glaze or grout.
Yes, it is highly recommended. New appliances often contain manufacturing oils, dust, and protective films inside. Running a cleaning cycle for ovens and washing machines removes these residues. Wiping down the interior of refrigerators and freezers ensures no contaminants come into contact with your food.
Apply a wood-safe adhesive remover to a cloth and lay it over the residue for a few minutes to soften it. Gently scrape with a plastic putty knife. Avoid using metal scrapers or excessive force, which can scratch the wood finish. After removal, clean the area with a damp cloth and dry immediately.