Driveway Damage: Understanding, Fixing, and Preventing Problems
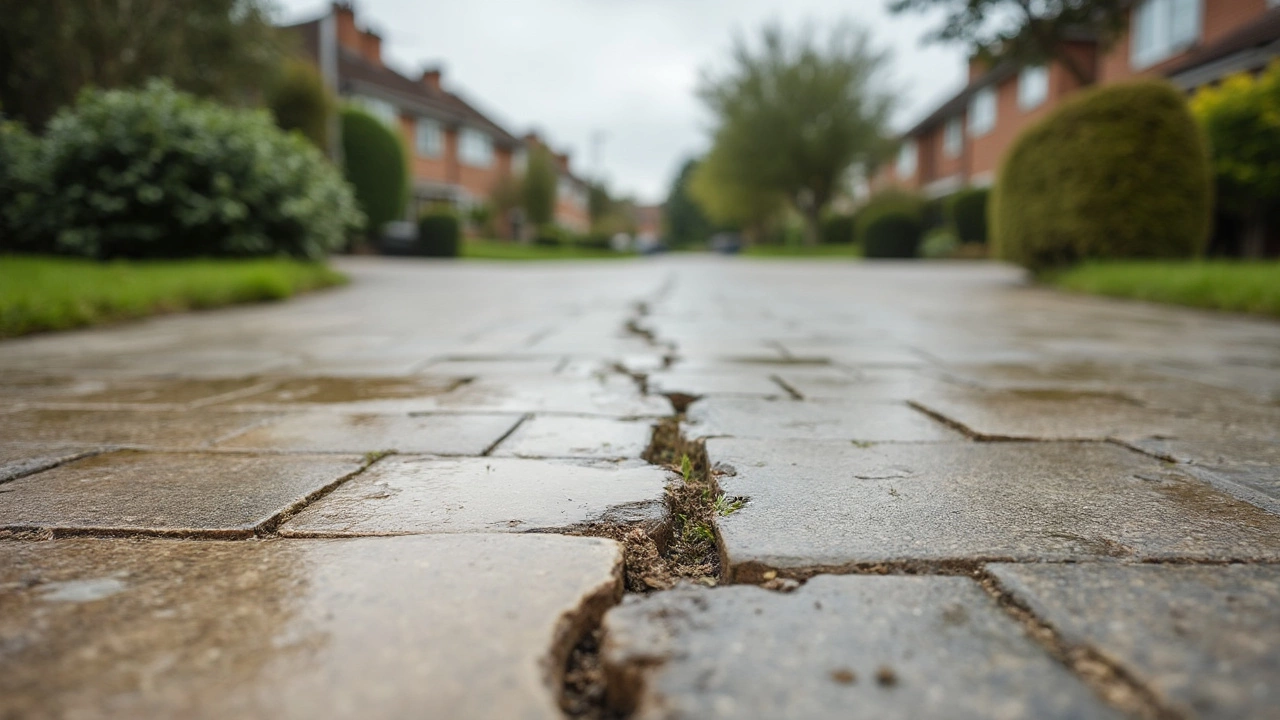
When dealing with Driveway Damage, any wear, cracks, stains or surface loss that reduces a driveway’s appearance and function. Also known as paving deterioration, it often results from weather, traffic and poor maintenance. In everyday language, it’s the unsightly cracks, oil patches, and eroded spots you see after a harsh winter or a busy weekend of cars. If you ignore those signs, the problem can spread, leading to costly replacements. Below we’ll break down the main culprits, the tools you need, and simple steps to keep the concrete, asphalt or pavers looking fresh.
Key Factors Behind Common Driveway Damage
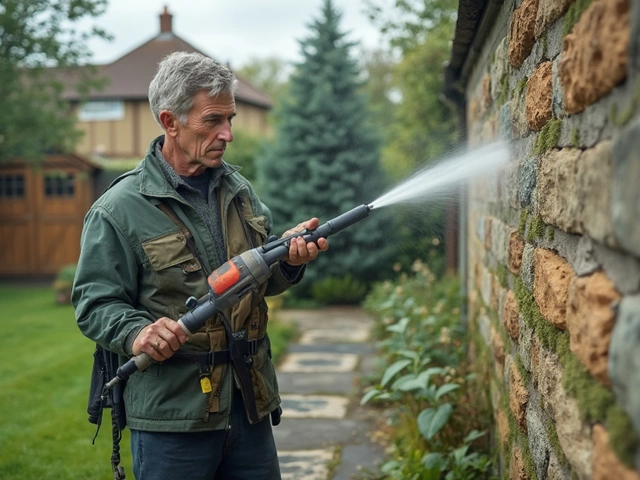
One of the first things to recognize is that driveway damage isn’t a single issue—it’s a collection of symptoms. Pressure Washing, a high‑pressure water spray used to strip dirt, oil and grime from surfaces is often the first line of defence. A buildup of oil, grease, and mineral deposits creates a slippery, stained surface that also traps moisture. When water seeps into cracks, freeze‑thaw cycles expand the gaps, turning a small hairline fracture into a deep fissure.
Another frequent offender is inadequate Seal Coating, the application of a protective film that repels water, UV rays and chemicals. Without a proper seal, the pavement absorbs moisture, which weakens the binder in concrete or loosens the joints in pavers. Over time, the surface becomes porous, leading to discoloration and reduced structural integrity.
Even if the surface looks fine, underlying Crack Repair, the process of filling and sealing fissures to restore structural continuity is essential. Small cracks let weeds grow, encourage rodents, and provide entry points for water. When left untreated, the expansion joints fail, and you end up with sections that sink or shift—dangerous for both vehicles and pedestrians.
Finally, poor drainage plays a hidden but powerful role. Water that pools at the edge of the driveway or runs off into low spots erodes the base material. This erosion weakens the support underneath, causing uneven settling and eventually leading to larger cracks. Good grading, proper swales, and periodic checks of downspouts can stop the problem before it starts.
Understanding these relationships helps you see why each remedy matters. A clean surface (pressure washing) prepares the area for a lasting seal (seal coating), while crack repair guarantees the seal won’t seep through gaps. Meanwhile, addressing drainage issues stops new damage from forming. The three‑step cycle – clean, seal, repair – forms the backbone of any effective driveway maintenance plan.
Now let’s look at practical steps you can take, whether you’re a DIY homeowner or a property manager hiring a pro.
Step 1: Assess the Damage – Walk the driveway and note any visible cracks, stains, or soft spots. Use a ruler or a crack‑width gauge to categorize fissures: hairline (under 2 mm), moderate (2‑6 mm) or severe (over 6 mm). Photograph each issue for reference; this makes quoting a professional service faster and helps you track progress over time.
Step 2: Clean Thoroughly – If you have a garden‑type pressure washer, start at 1500 psi for concrete or asphalt and 1200 psi for pavers. Apply a biodegradable degreaser, let it sit for 10 minutes, then rinse. For stubborn oil spots, a dish‑soap paste works well; scrub with a stiff brush before the final rinse. A clean surface not only looks better but also lets sealants bond properly.
Step 3: Repair Cracks – For hairline cracks, a flexible acrylic filler works. Fill the gap, smooth with a putty knife, and let cure for 24 hours. Larger cracks need a deeper approach: clean out loose debris, insert a backer rod, then pour a polyurethane‑based crack sealant. Ensure the sealant is rated for traffic if the driveway sees regular vehicle use.
Step 4: Apply Seal Coating – Choose a sealant matched to your material. Acrylic sealers are popular for concrete; they provide UV resistance and a subtle sheen. For pavers, a penetrating sealant that soaks into the joints is best. Apply with a roller or sprayer in thin, even coats, following the manufacturer’s temperature guidelines (usually 50‑85 °F). Two coats are typical; allow 24‑48 hours between applications.
Step 5: Improve Drainage – Inspect the edges for low spots. Use a concrete resurfacer to build up a gentle slope away from the house. Install a French drain or a simple trench filled with gravel if water consistently pools. Regularly clean gutters and downspouts to keep water away from the driveway base.
When you’re short on time or lack the right equipment, hiring a local specialist can be a smart move. Professional teams come equipped with industrial‑grade pressure washers, high‑performance sealants, and experience in diagnosing hidden issues like sub‑base failure. Look for companies that use eco‑friendly products—this aligns with the values of many Isle of Wight homeowners who care about the local environment.
Beyond fixing the current damage, preventive maintenance saves money in the long run. A quick pressure wash once a year, a seal coat every 2‑3 years, and an annual visual inspection are enough to keep most driveways in top shape. If your property sees heavy traffic (delivery trucks, construction vehicles), shorten the seal‑coat interval to every 18 months.
In summary, driveway damage is a multi‑faceted problem that combines surface grime, structural cracks, inadequate protection, and water management. By tackling each element—cleaning, repairing, sealing, and draining—you create a resilient surface that lasts years. Below you’ll find a curated collection of articles that dive deeper into each of these topics, from DIY pressure‑washing recipes to professional crack‑repair techniques and cost‑effective seal‑coating options. Explore the resources to pick the right approach for your driveway today.