Select the options that match your situation to find out why your windows look smeared and how to fix it.
You just spent twenty minutes scrubbing your kitchen window. You used the 'best' cleaner you could find. You wiped it down with a clean cloth. But as soon as you step back and look at it in the sunlight, you see them: ugly, hazy smears that make the view look like you’re looking through old cellophane. It is frustrating, isn’t it? You did everything right, or so you thought.
I have been cleaning windows in Brighton for years. The sea air here does strange things to glass, but even inland, most people struggle with this exact problem. The truth is, a smeared window usually means one of three things: you are using the wrong tool, the wrong chemical, or the wrong technique. Let’s break down exactly why your windows look bad after cleaning and how to fix it permanently.
Before we talk about your cleaning method, we need to talk about your tap water. If you live in an area with hard water-which includes much of southern England-your water is packed with calcium and magnesium minerals. When you spray plain water on a window and let it dry, those minerals stay behind. They create a cloudy film that looks like a smear but is actually solid residue.
Hard water stains are mineral deposits left behind when water evaporates from glass surfaces. These deposits are often mistaken for dirt or soap scum but require specific treatment to remove.If you use a standard bucket of tap water to wash your windows, you are essentially painting mineral dust onto your glass. This is the number one cause of persistent haziness. Even if you rinse thoroughly, microscopic amounts remain. Over time, this builds up into a layer that regular wiping cannot remove. You might think you need a stronger cleaner, but you actually need distilled water or a solution designed to break down minerals.
Most people grab a tea towel, an old t-shirt, or a paper towel to dry their windows. This is where the smear starts. Cotton fabrics shed tiny fibers. Paper towels disintegrate and leave lint. Old microfiber cloths get saturated with grease and dirt from previous uses and stop absorbing properly.
To get a truly streak-free shine, you need a high-quality, plush microfiber cloth that is dedicated solely to glass. But there is a catch: the cloth must be completely dry before you start polishing. If the cloth is damp, you are just pushing dirty water around the pane instead of lifting it off. Think of it like waxing a car; you need a dry pad to buff away the haze. If your cloth feels stiff or smells musty, throw it out. A good microfiber cloth should feel soft and absorbent, not scratchy or greasy.
We love our multi-purpose sprays. They cut through grease on the stove and dirt on the floor. But glass is different. Many household cleaners contain surfactants-chemicals that lift dirt by breaking surface tension. On a ceramic tile, these surfactants rinse away easily. On glass, they can leave a thin, invisible film if not rinsed perfectly.
This is especially true with dish soap. While a drop of dish soap in water is great for removing heavy grime, it is terrible for final drying. Dish soap is designed to cling to oil. If you don’t rinse the soap off completely, it dries into a sticky residue that attracts dust immediately. For a quick clean, skip the soap entirely. Use a vinegar solution or a dedicated glass cleaner that evaporates quickly without leaving residue.
| Mistake | Visual Result | The Fix |
|---|---|---|
| Using tap water in hard water areas | Cloudy, white haze | Use distilled water or rain water |
| Damp microfiber cloth | Water streaks and lines | Use a bone-dry polishing cloth |
| Cleaning in direct sunlight | Rapid drying spots | Clean in shade or early morning |
| Dirty squeegee rubber | Thin lines across the pane | Wipe blade with paper towel between strokes |
Have you ever noticed that windows cleaned on a sunny day always seem to streak more? It is not a coincidence. Direct sunlight heats the glass, causing your cleaning solution to evaporate before you can wipe it away. When the liquid vanishes instantly, the dirt and minerals are left behind in uneven patches.
This is known as 'flash drying.' To avoid it, clean your windows on an overcast day. Cloud cover acts as a natural diffuser, keeping the glass cool and giving you ample time to work the solution and wipe it clean. If you must clean on a sunny day, work room by room, shading the window with your body or closing blinds to block direct rays until you finish the pane.
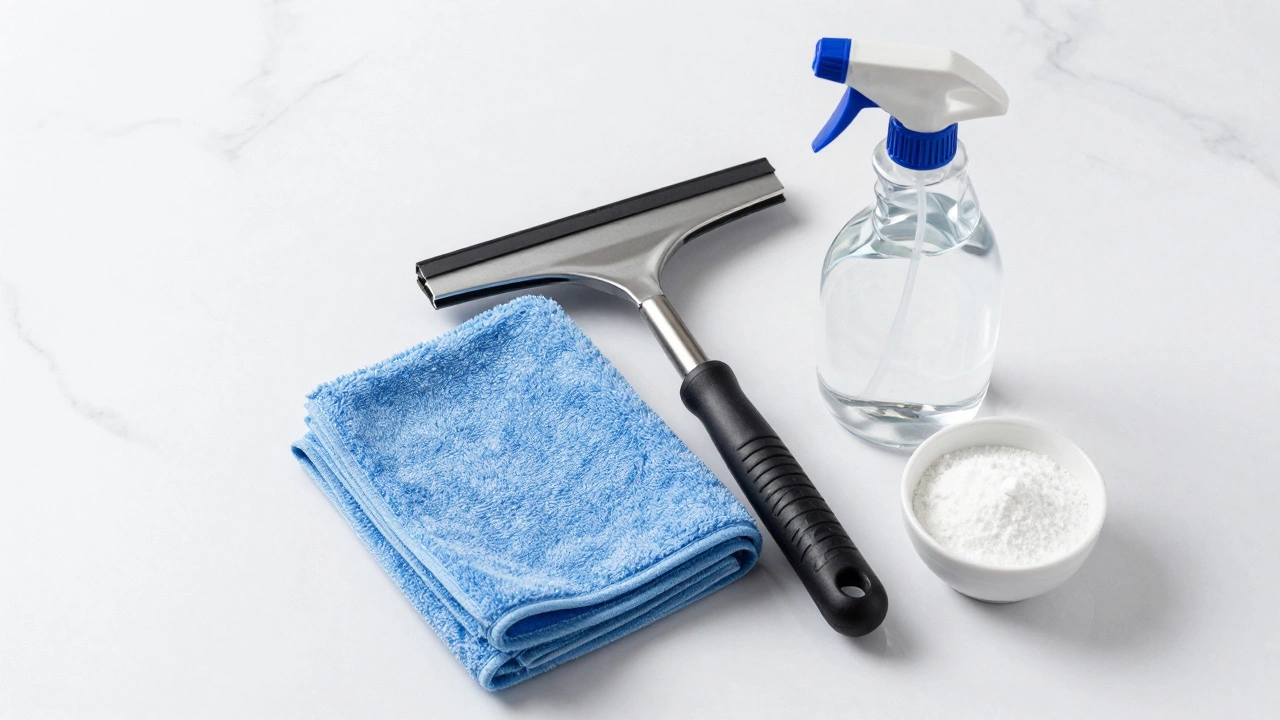
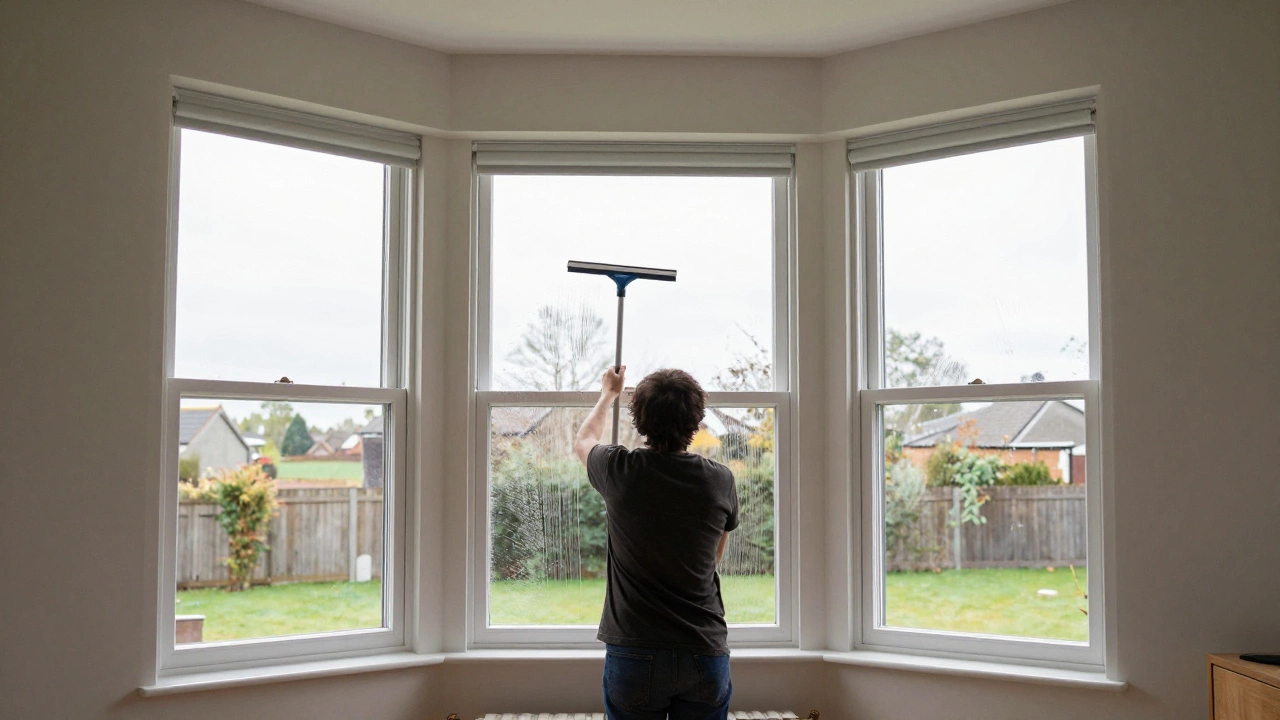
If you want professional results, you need to embrace the squeegee. Most homeowners fear them because they think they will scratch the glass. Modern squeegees have rubber blades that are softer than glass. The key is technique.
Even if your technique is perfect, external factors can ruin your work. In Brighton, salt spray from the ocean settles on windows constantly. Inland, pollen in spring and exhaust fumes from traffic create a greasy film. If you clean the glass but ignore the frame and sill, dust will blow back onto the wet surface as you work.
Always vacuum or dust the window frame, sill, and screen before you touch the glass. If you skip this step, you are just mixing dust with your cleaning solution, turning it into mud. For screens, remove them and hose them down separately. Trying to clean a screen while it is in the frame traps dirt against the glass.
Sometimes, the smear is not something you can fix with a cloth. If your windows have years of built-up mineral deposits, paint overspray, or etching from harsh chemicals, home remedies may not work. Etching is permanent damage to the glass surface caused by acidic substances. No amount of cleaning will remove it; the glass needs replacement.
For stubborn mineral buildup, try a paste of baking soda and water. Gently rub it on the affected area with a non-abrasive sponge, then rinse thoroughly. If that fails, a professional window cleaner has access to industrial-grade acids and steam cleaners that can strip layers of grime safely. Don’t beat yourself up if DIY methods aren’t working. Glass is unforgiving, and sometimes it takes a pro’s eye to spot the issue.
To ensure your windows stay clear, adopt this simple routine:
Clean windows shouldn’t be a mystery. By understanding what causes smears-minerals, bad tools, sun, and dust-you can take control of the process. Next time you pick up a spray bottle, remember: less is often more. Skip the fancy chemicals, use distilled water, and master the squeegee. Your view will thank you.
Newspaper was a popular trick decades ago because the ink acted as a mild abrasive and the paper absorbed moisture well. However, modern newspapers use different inks that can stain glass, and the paper itself shreds easily, leaving lint. Plus, the ink can transfer to your hands and clothes. A high-quality microfiber cloth is safer, cleaner, and more effective today.
Be careful. Many commercial glass cleaners like Windex contain ammonia. Ammonia can degrade the tint film on car windows and some residential films over time, causing bubbling or peeling. Always check the manufacturer’s instructions for your tint. For tinted windows, use an ammonia-free cleaner or a simple vinegar and water solution.
For light stains, a mixture of equal parts white vinegar and distilled water works well. Spray it on, let it sit for five minutes, then scrub with a non-abrasive pad and rinse. For heavy, crusty deposits, you may need a specialized calcium remover or a paste of baking soda and water. Avoid steel wool, which will scratch the glass permanently.
Rainbow marks are usually caused by oily residues or silicone-based products reflecting light. This often happens if you use a cleaner with too many additives or if you wipe the window with a cloth that has been washed with fabric softener. Fabric softeners coat fibers with oil. Wash your microfiber cloths in hot water with no detergent or softener to remove this buildup.
It depends on accessibility. For ground-floor windows, cleaning the outside first prevents drips from ruining the interior job. For upper-story windows, it is often safer and easier to clean the inside first, then the outside, so you don’t have to worry about falling debris or balancing on ladders while dealing with indoor messes. Always prioritize safety.