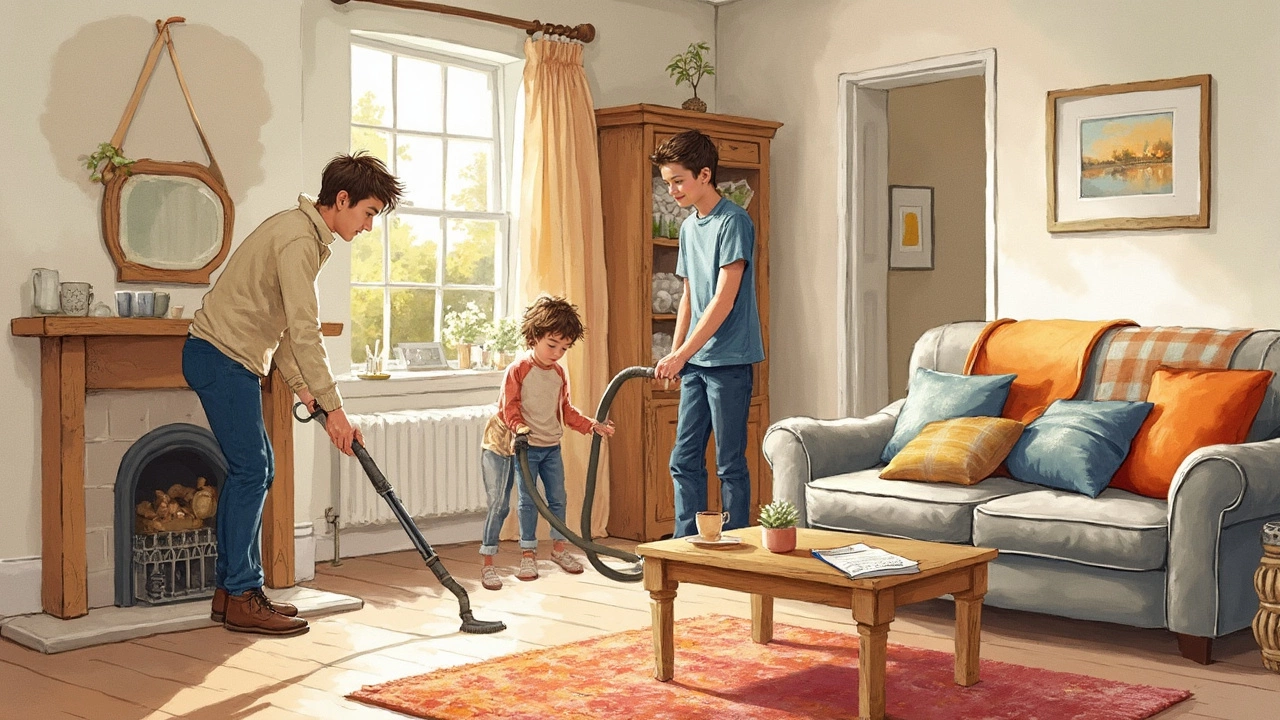
If you grab a vacuum before picking up socks and empty cups, you're fighting an uphill battle. Cleaning a room goes way smoother when you follow the right order—it's faster and you actually see results.
Order matters for a simple reason: If you dust after you vacuum, you just end up with more crumbs and fluff on the floor. Or wipe surfaces after mopping? Now your nice clean floor is smeared again. Following a step-by-step flow saves time and frustration.
Here’s a trick a lot of pro cleaners use—you always start high and finish low. Why? Gravity. All the dirt, crumbs, and dust you knock loose from shelves, light fixtures, or ceiling fans will drop down. So you don’t have to do things twice.
Ever notice that no matter how hard you scrub, a room can stay messy if you go at it in the wrong order? There’s a good reason pro cleaners have a routine. Following the correct order to clean a room actually helps you get a cleaner space with less effort. Jump steps or mix things up, and you’ll probably just make more work for yourself.
There’s a golden rule: work from the top of the room down to the bottom. As you dust shelves or wipe down fans, stuff falls to the floor. That’s why you save vacuuming or mopping for last. If you mop first, and then brush crumbs off the table, you’re mopping twice. That’s a waste of energy and cleaning supplies.
Studies from cleaning product brands show up to 40% of people say cleaning takes too long, mostly because they repeat steps. Getting your order right means less backtracking, and you’re less likely to miss spots—think behind-the-door grime or dusty baseboards.
Here’s why the right steps matter for spring cleaning especially:
If you want every part of your house—from light fixture to floorboards—feeling fresh, nailing the correct order to clean a room is half the battle won.
If there's one thing that trips people up in their correct order to clean a room routine, it's skipping the decluttering step. Trying to clean around piles of laundry, empty water bottles, and stacks of random stuff is a waste of time. You need clear surfaces before you can actually clean the surfaces.
Decluttering isn’t just about looks—it stops junk from trapping dust, which can trigger allergies or just make your space feel stuffy. According to a 2022 survey by YouGov, over 60% of people said getting rid of clutter made them feel more relaxed at home. That’s a mood boost you can’t ignore.
Here’s what works best:
If you want to see a quick difference, clear off major surfaces: the bed, desk, dresser, and floor. Suddenly, the room looks less chaotic and you'll find cleaning so much easier.
Here's a fast breakdown of what usually gets decluttered in most rooms:
| Item | Where It Goes |
|---|---|
| Dirty laundry | Hamper |
| Trash (wrappers, bottles, etc.) | Garbage/recycling |
| Clean clothes | Closet or dresser |
| Papers/mail | Desk or file |
| Random objects | Belongings basket or correct drawer |
Tackle the clutter before anything else, and suddenly the rest of your spring cleaning checklist becomes way less of a grind.
The golden rule of room cleaning? Always dust from top to bottom. It’s not just a nice idea—it actually saves you time and keeps you from re-cleaning stuff you’ve already finished. Dusting knocks particles off shelves and fans, and if you started with the floor, you’d just end up doing twice the work.
Here’s how to get it right:
If you’re wondering why microfiber cloths come up so much, here’s a simple fact: They trap dust and dirt instead of just moving it around. According to a study by the University of California, microfiber can pick up up to 99% of bacteria with water alone—no need for extra sprays.
Got allergies? A damp cloth works better than a dry feather duster because it stops dust from floating back into the air. Pro tip: Turn off fans and HVAC vents before you start so dust doesn’t just swirl around while you clean.
You might be surprised where the most dust actually piles up. A 2023 survey by a major vacuum brand found the top three forgotten spots in the average home:
| Spot | Percent Forgotten |
|---|---|
| Ceiling fan blades | 68% |
| Behind electronics | 47% |
| Baseboards | 35% |
Make these areas a regular stop in your correct order to clean a room routine. Starting high and ending low means you only need to clean each spot once. That’s how you work smarter, not harder.
Once you've decluttered and dusted, it's time to get hands-on with surfaces and floors. Start with surfaces like desks, shelves, dressers, and nightstands. Use a good all-purpose cleaner (or microfiber cloth with water for delicate wood), and wipe them down. Don’t forget the sides, knobs, and handles. Germs love to hide where fingers always go.
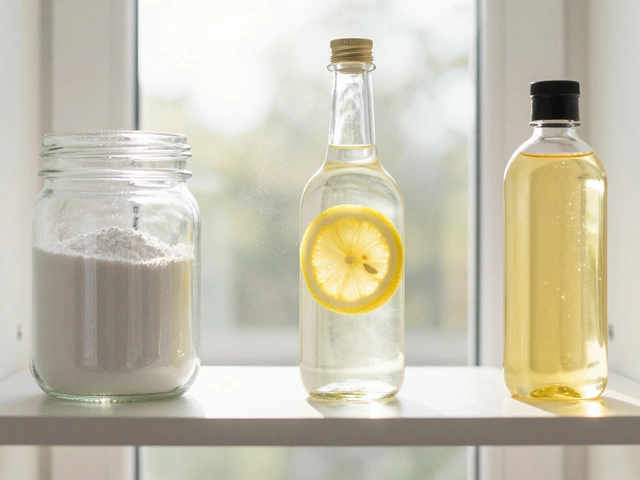
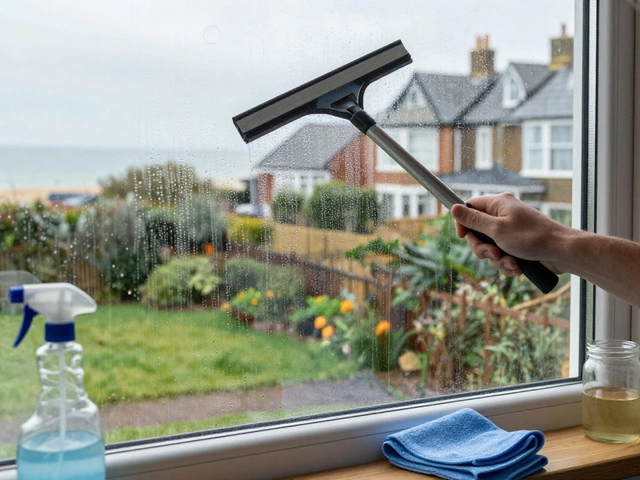
Next up—mirrors and glass. A quick homemade fix is mixing half vinegar, half water. Spray, wipe in circles, and you'll avoid streaks. If you've got glass tabletops, these need a separate, thorough wipe because crumbs love to stick around the corners.
Now floors. Whether you’ve got carpet or hard floors, save them for last. If you vacuum first, you’ll need to do it all over again after cleaning surfaces. For carpets, slow passes are better—University of Arizona research found that moving the vacuum slowly removes up to 15% more dirt per pass compared to quick sweeps. Hard floors? Sweep, then mop. Use a clean mop and change water if it gets cloudy.
Here’s a breakdown of surface and floor go-tos:
Finish strong with the details: Replace trash can liners, fluff pillows, fold any stray blankets, and pull back curtains or blinds for more light. Small fresh touches, like opening a window for 10 minutes, make the room actually feel different—not just look clean.
| Surface | Recommended Cleaner | Frequency |
|---|---|---|
| Desks/Tables | All-purpose or wood spray | Weekly |
| Glass/Mirrors | Vinegar-water mix | Weekly |
| Floors (Carpet) | Vacuum | Weekly |
| Floors (Hard) | Sweep & Mop | Weekly |
| High-touch Spots | Disinfectant wipe | 2–3x week |
Following this correct order to clean a room means you never redo work, and the whole space actually gets clean—not just shifted around. That’s way less hassle when spring cleaning season hits.
People mess up their correct order to clean a room by skipping easy basics or working out of sequence. Ignoring these can make your cleaning take twice as long, or worse, leave the place dirtier than when you started.
Here are some pro tips regular folks swear by for spring cleaning—and apartment landlords love these tricks:
| Common Mistake | The Fix |
|---|---|
| Vacuuming before dusting | Dust from top to bottom, then vacuum |
| Forgetting light switches and knobs | Wipe down all touchpoints last |
| Not ventilating the room | Open a window for better air and to clear out cleaning fumes |
| Ignoring regular tool cleaning | Wash sponges and cloths after each use |
Stick to this correct order and these tips, and your cleaning routine will be way less stressful—and honestly, a little more satisfying. Plus, it's the routine the pros use for a reason: it works every single time.