Before any chemicals touch the surface, a professional performs a risk check.
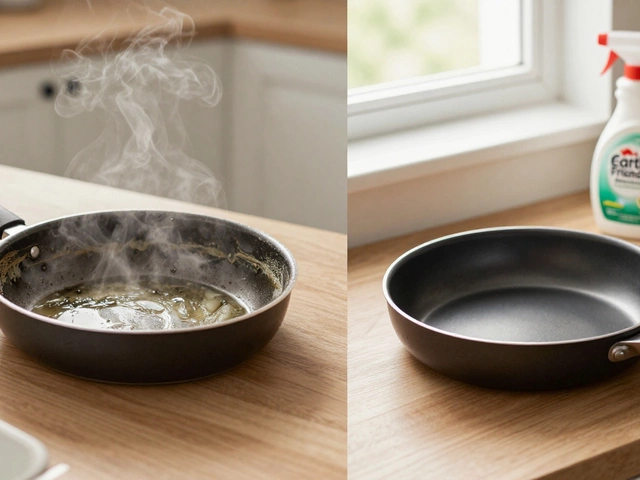
The focus here is Saponification—turning grease into water-soluble soap.
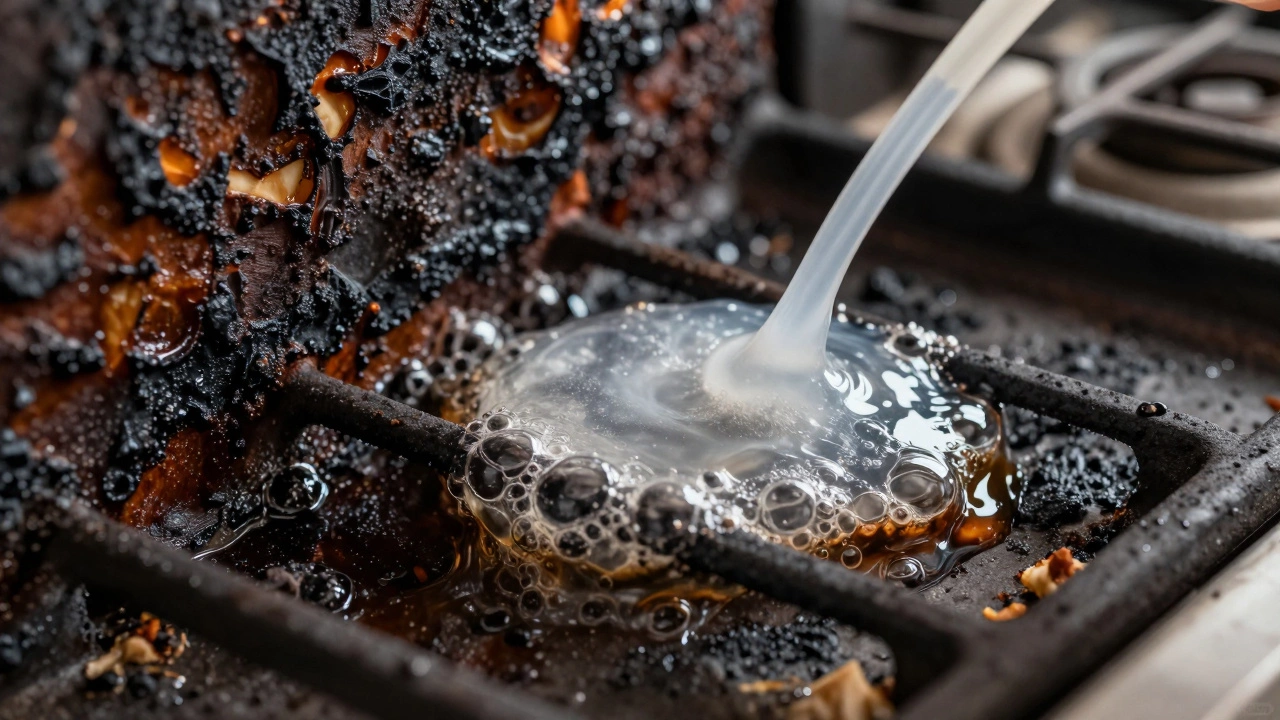
Pros let industrial degreasers sit for 20–40 minutes. Wiping immediately just moves grease around.
Use specialized tools to lift the loosened carbonized layers.
| Tool | Best Use Case |
|---|---|
| Stainless Scourer | Heavy carbon on oven floor |
| Razor Scraper | Burnt-on sugar or plastic |
| Nylon Brush | Edges and knobs |
Technique: Use small, overlapping circular motions.
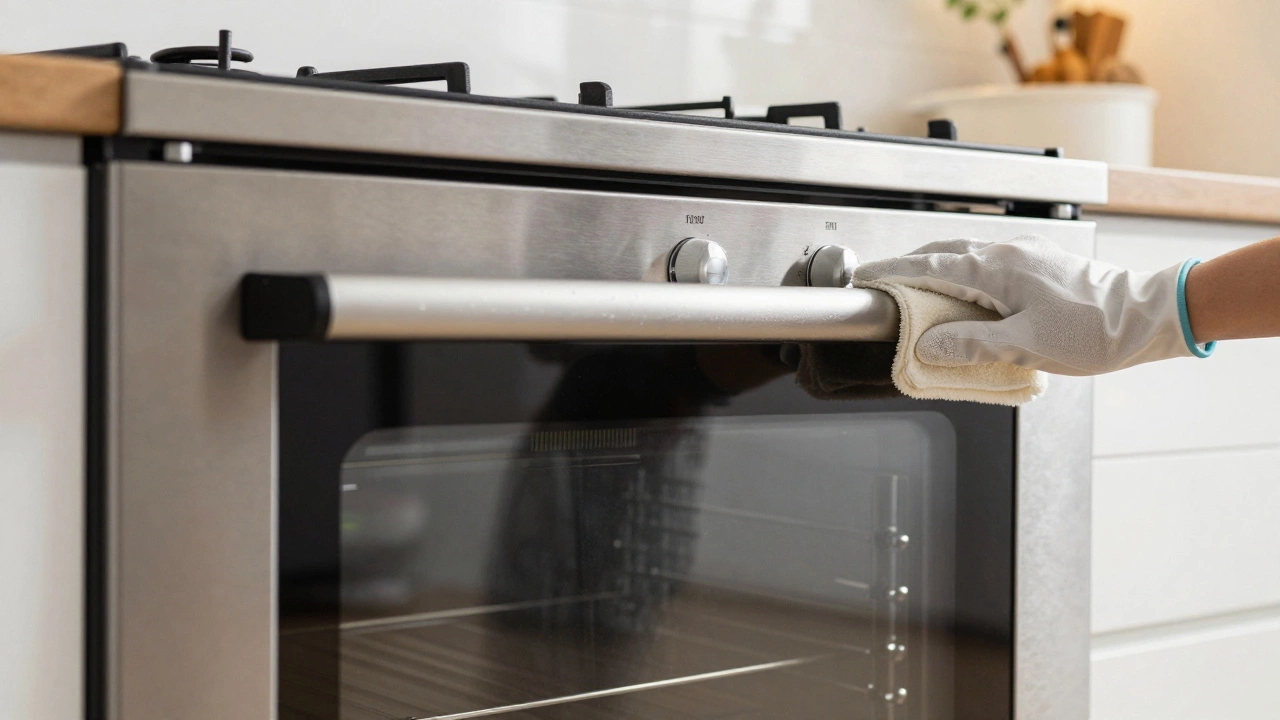
The most fragile part of the appliance requires a delicate touch.
Preventing chemical odors and protecting surfaces.
Quick Takeaways for a Cleaner Oven
A pro doesn't just start spraying. The first step is always a risk assessment. They check for damaged enamel, cracked glass, or faulty door seals. If they spray a high-alkaline cleaner into a crack in the enamel, it can cause permanent pitting. They also protect the surrounding area. You'll see a professional lay down heavy-duty absorbent mats or plastic sheeting on your kitchen floor because the runoff from an oven is a nightmare of black sludge and caustic chemicals.
One of the biggest secrets is the temperature. While some pros use cold-cleaning methods, many utilize a technique where they slightly warm the oven. This doesn't mean running the self-clean cycle-which can actually bake grease into a harder, glass-like layer-but rather getting the metal warm enough that the chemicals react faster. It's about optimizing the chemical reaction time to ensure the grease liquefies quickly.
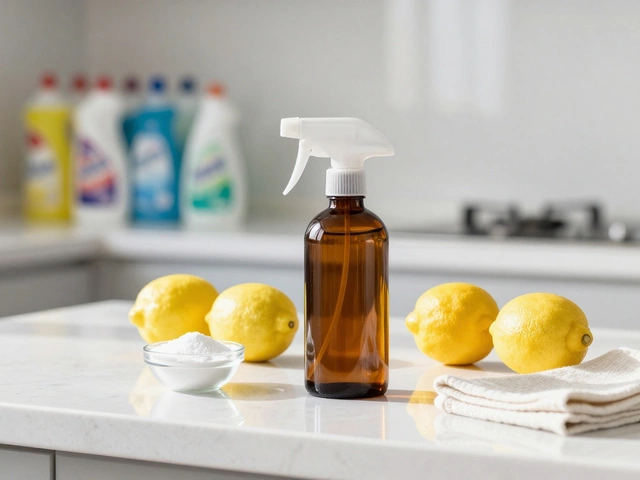
Most home cleaners use a mixture of baking soda and vinegar. While that's great for a light smudge, it won't touch a three-year buildup of burnt lasagna. Professionals use Industrial Degreasers, which are highly alkaline solutions, often containing sodium hydroxide or potassium hydroxide, designed to saponify fats. Saponification is a fancy way of saying the cleaner turns the grease into soap, making it water-soluble and easy to wipe away.
They apply these chemicals using a precision sprayer or a thick gel that clings to the walls. The goal is "dwell time." If you spray and wipe immediately, you're just moving grease around. A pro lets the product sit for 20 to 40 minutes. This allows the caustic agents to penetrate the carbonized layers. If you've ever seen a pro use a "dip tank," that's where the racks go. They soak the racks in a concentrated bath of degreaser, which is far more efficient than scrubbing each bar individually.
Once the chemicals have loosened the grime, it's time for the physical work. You won't see them using a kitchen sponge. They use a variety of specialized tools based on the surface they are touching.
| Tool | Material/Type | Specific Use Case |
|---|---|---|
| Scouring Pads | Stainless steel / Non-scratch | Heavy carbon buildup on oven floors |
| Microfiber Cloths | High-density polyester | Final polishing and removing chemical residue |
| Detail Brushes | Nylon bristles | Cleaning the edges of the door and knobs |
| Razor Scrapers | Tungsten carbide blades | Removing hard, burnt-on sugar or plastic drips |
The technique is a series of small, overlapping circles. They start from the top and work their way down. This ensures that any drips from the upper racks are captured as they clean the lower sections. They pay special attention to the "invisible" areas, like the underside of the oven roof and the crevices around the heating elements, where grease often hides and causes that burnt-food smell when you start the oven.
The oven door is the most visible part, but it's also the most fragile. Using a metal scourer on the glass is a cardinal sin in the professional world because it creates micro-scratches that can eventually lead to the glass shattering under high heat. Instead, pros use a specific glass-safe degreaser and a soft abrasive or a razor blade held at a very precise 45-degree angle to lift debris without scratching.
Then there are the Door Seals, which are heat-resistant rubber gaskets that prevent hot air from escaping the oven cavity. Cleaning these is a delicate balance. If you use a caustic cleaner on the rubber, you'll dry it out, causing it to crack and leak heat. Pros use a damp cloth and a mild detergent to wipe them down, ensuring the seal remains pliable and airtight.
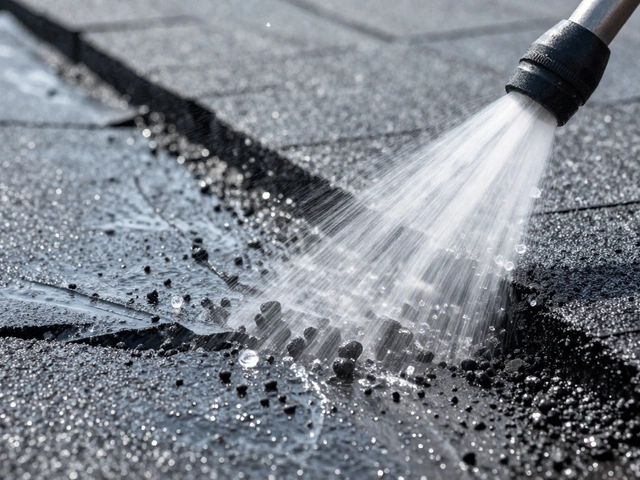
The most critical part of a professional oven cleaning is the neutralization phase. Because they use high-pH alkaline chemicals, any residue left behind can cause the oven to smell like chemicals the next time it's heated, or worse, it can irritate your skin when you touch the racks. Pros perform multiple "rinses" using a damp microfiber cloth to remove every trace of the degreaser.
To finish, they use a food-safe polishing agent on the exterior. If the oven is stainless steel, they'll apply a thin layer of specialized oil or polish to prevent fingerprints and protect the surface from future splashes. This is what gives the oven that "showroom shine" that makes it look like it was just installed yesterday.
Many homeowners ask why they should hire a pro when they have a self-cleaning mode. Here's the truth: self-cleaning (pyrolysis) works by heating the oven to nearly 900°F (480°C) to burn food into ash. While this sounds efficient, it's a brutal process. The extreme heat can blow thermal fuses, warp the oven chassis, or damage the electronic control boards. It also releases toxic fumes into your kitchen.
Professionals avoid the self-clean button because it often "bakes" the grease into the enamel, creating a hard, ceramic-like shell that is even harder to remove chemically. The pro method of chemical breakdown and mechanical lifting is much gentler on the appliance and far more thorough in the corners and edges where the heat of a self-clean cycle can't reach.
Depending on the size of the oven and the level of grime, a pro usually spends between 1.5 to 3 hours. A significant portion of this time is "dwell time," where the chemicals are left to work on the grease without any scrubbing.
Industrial degreasers are powerful, but pros mitigate the risk by thoroughly rinsing the oven with clean water and neutralizing agents. Once the oven is rinsed and polished, there are no active chemicals left to contaminate your food.
Generally, yes, but it depends on the damage. If the glass is cracked, they will avoid spraying liquids into the cracks to prevent damage to the inner frame. They'll focus on the areas they can safely clean and advise you on the replacement of the glass.
For an average household, once or twice a year is usually enough. However, if you cook with a lot of oil or fats, a six-month schedule helps prevent the buildup of carbonized grease, which can actually affect the taste of your food.
A standard clean usually involves wiping down the surface and the glass. A deep clean involves removing the racks for soaking, scrubbing the oven floor and roof, cleaning the door seals, and using industrial degreasers to remove carbonized layers that a sponge can't touch.
If you're not ready to call in a professional but want better results, try the "soak method." Instead of scrubbing while you're cooking, apply a thick paste of baking soda and water, let it sit overnight, and then wipe it away. For those with heavy buildup, investing in a non-scratch stainless steel scrubber is a game-changer compared to using a sponge.
If you notice your oven is taking longer to heat up or the door doesn't close tightly, the problem might not be grease-it might be a worn-out seal. In that case, a cleaning service can help identify the issue, but you'll need an appliance technician to replace the parts. Keeping the seal clean of crumbs and grease will extend its life and keep your energy bills lower.