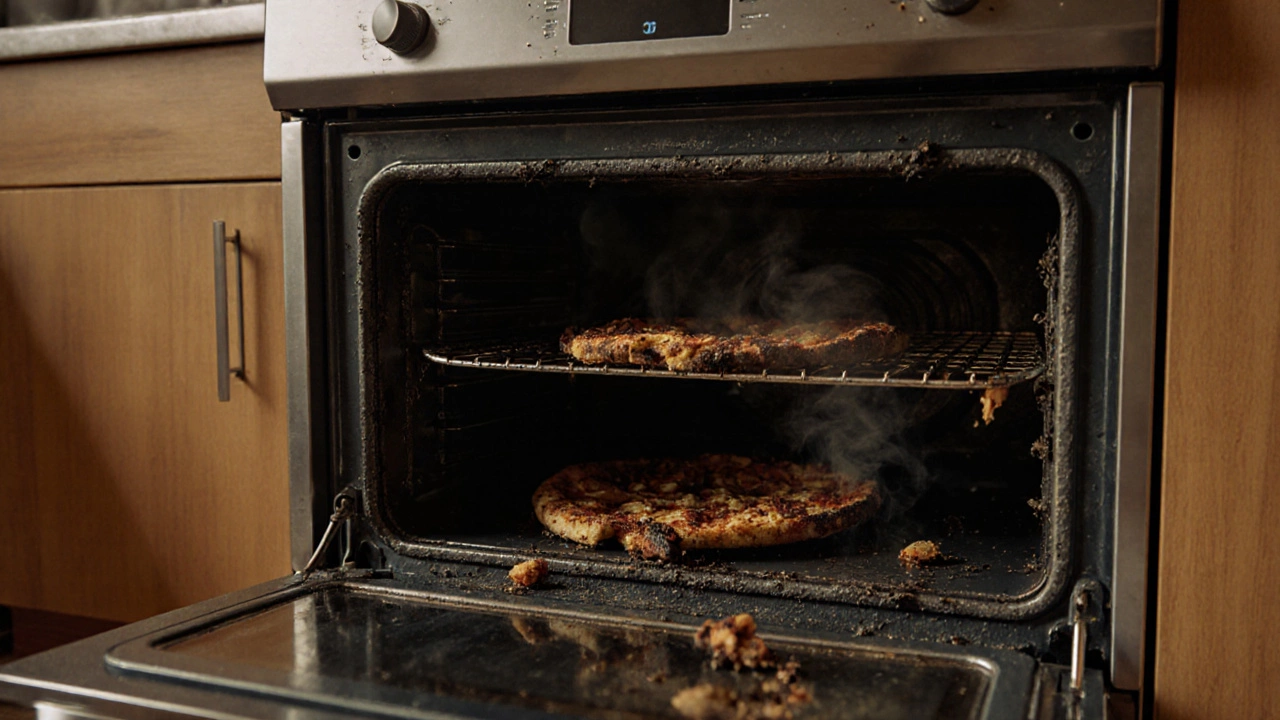
DIY Oven Cleaner: Simple Recipes, Safety Tips and Real Results
When tackling kitchen grime, DIY oven cleaner, a homemade mix that cuts grease without harsh chemicals. Also known as homemade oven cleanser, it lets you restore your oven while keeping the air safe. In this guide we’ll walk through why many homeowners skip pricey services and choose a do‑it‑yourself approach.
Key ingredients and how they work
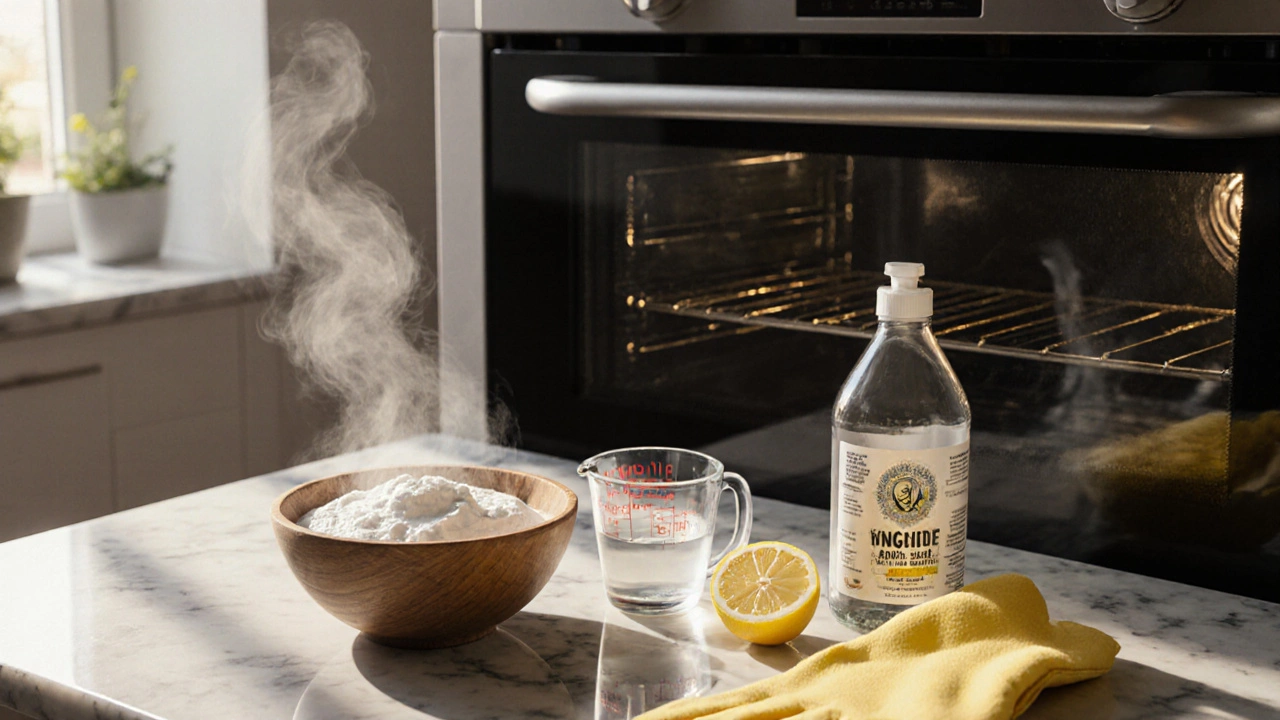
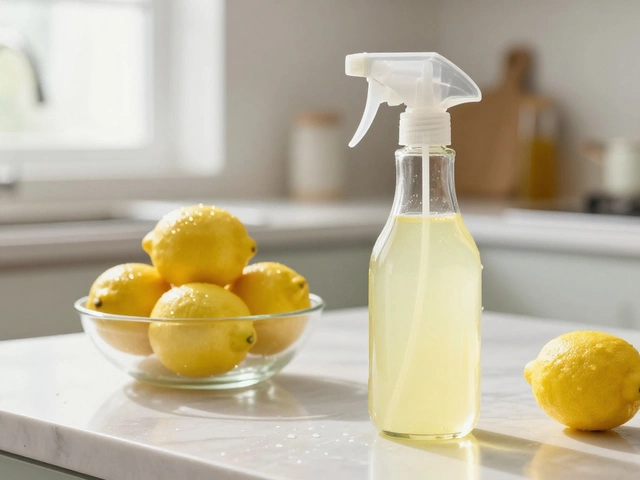
The backbone of most DIY oven cleaner recipes is a trio of pantry staples. First up, Dawn dish soap, a grease‑cutting surfactant that breaks down oil bonds. It’s also called America’s #1 grease remover, and it’s gentle enough for food‑contact surfaces. Pair it with vinegar, an acidic liquid that softens baked‑on residue. Known in kitchens as white distilled vinegar, it reacts with the soap to lift grime without scrubbing. When you mix these two, you get a foaming, low‑odor cleaner that attacks stubborn spots while staying safe for you and your family.
Adding a third component— baking soda, a mild alkaline powder that neutralizes acids and lifts debris. Also referred to as sodium bicarbonate—creates a gentle abrasive that nudges burnt‑on food away. The combination of acid (vinegar), base (baking soda), and surfactant (Dawn) forms a balanced chemical system: the acid softens, the base loosens, and the surfactant lifts. This trio is the core of a DIY oven cleaner that rivals commercial products.
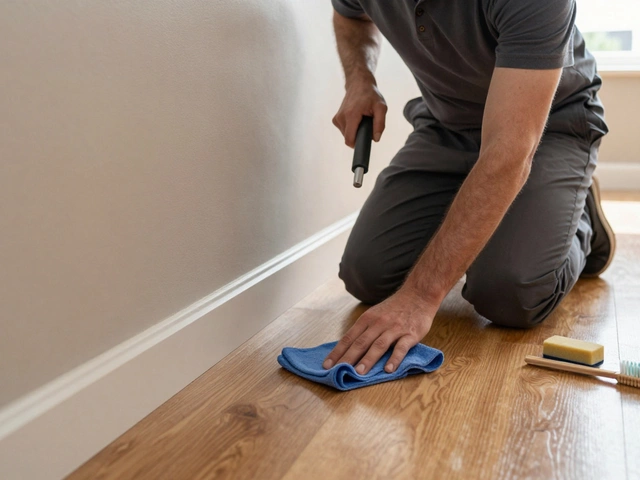
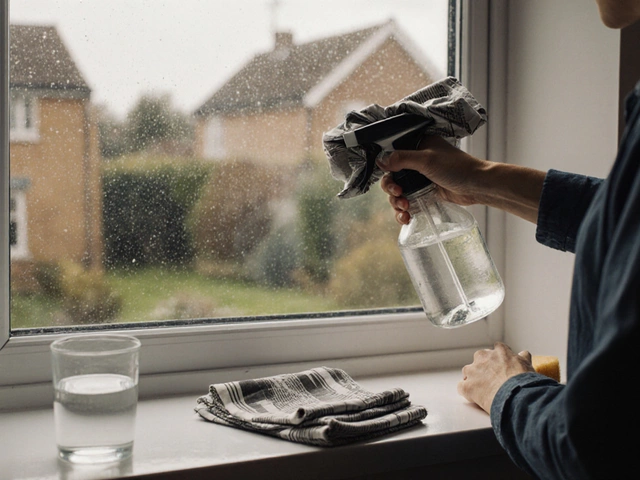
Beyond ingredients, eco‑friendly cleaning, a approach that avoids toxic chemicals and reduces waste shapes how you apply the mix. Using reusable spray bottles, cotton rags, and natural ingredients means less plastic and no hazardous runoff. It also satisfies the growing demand for green households—something many UK families are actively seeking.
Now, let’s talk safety. DIY oven cleaner requires proper ventilation; open a window or run the extractor fan while you spray. Wear gloves to protect skin from the mild acidity of vinegar, and avoid inhaling the foam. The recipe is low‑risk, but respecting these simple steps keeps the process pleasant. Think of it as a kitchen science experiment you can do in your apron.
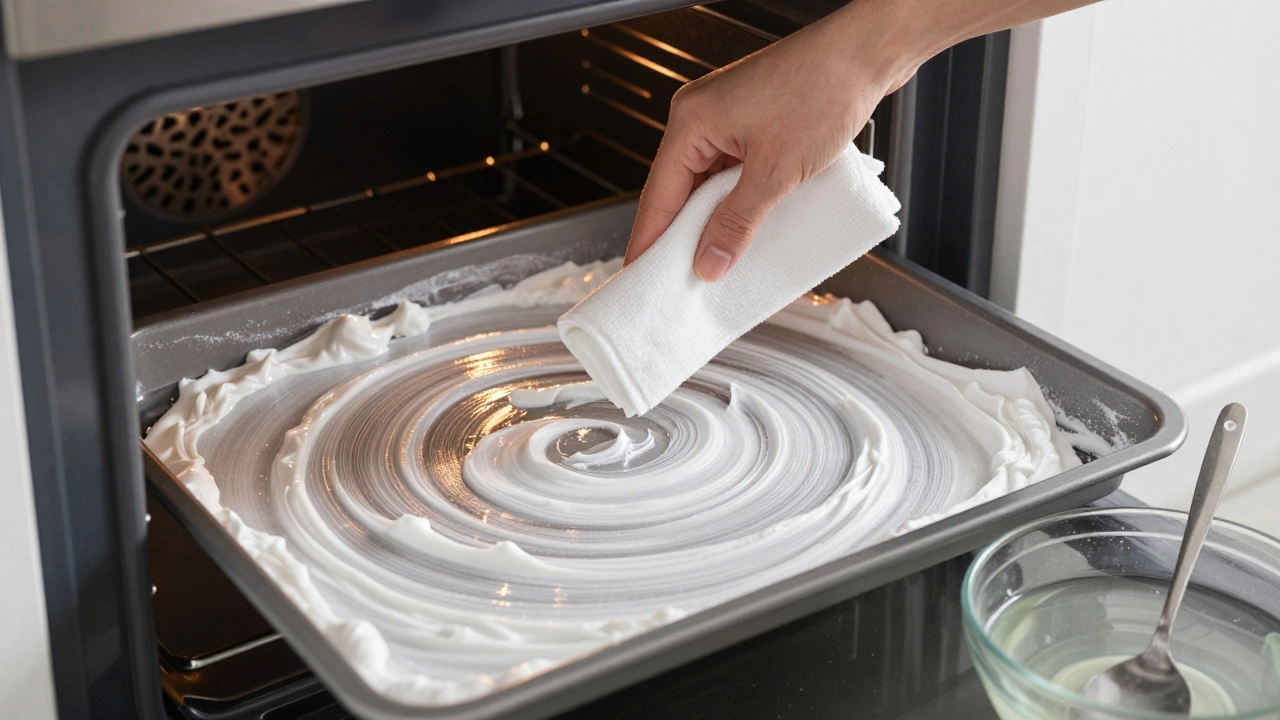
From a performance angle, the blend delivers three clear benefits: it cuts grease, lifts carbonized residue, and leaves a faint, non‑sticky finish. The reaction between vinegar and baking soda produces a brief fizz, signaling that the formula is working. As the foam expands, it penetrates crevices, loosening the hardened mess. After a short dwell time—usually 15‑20 minutes—you wipe away the grime with a damp cloth, revealing a gleaming interior.
Cost‑wise, you’re looking at pennies per clean. A bottle of Dawn, a cup of vinegar, and a box of baking soda cost less than a coffee. That means you can repeat the process weekly during heavy cooking periods without breaking the bank. Plus, regular DIY cleaning prolongs your oven’s lifespan, meaning fewer repairs and lower energy bills—something every homeowner appreciates.
Finally, keep the momentum by scheduling a quick touch‑up after each major cooking session. A light spray of the same mixture, followed by a wipe, prevents buildup before it becomes a challenge. Over time, you’ll notice less smoke, more even heating, and a kitchen that smells fresh rather than burnt.
Below you’ll find a collection of articles that dive deeper into each ingredient, walk you through step‑by‑step recipes, and share pro tips for getting the best results. Whether you’re a first‑timer or a seasoned DIY cleaner, the posts ahead will give you the confidence to keep your oven sparkling without the price tag.